
298: Getting Started With Spree
(view original Railscast)
Other translations:

Spree is a fully-featured e-commerce solution that can be easily integrated into a Rails application. If you need to turn a Rails app into a store that sells products then Spree is one of the quickest ways to do this. In this episode we’ll set up Spree in a new Rails application and customize some of its functionality so that you can get an idea as to how it works and see if it fits the needs of your application.
Installing Spree
Spree depends on ImageMagick to handle the image processing it does so we’ll need to install it before we can install Spree. The easiest way to do this is to use HomeBrew.
$ brew install imagemagick
Once ImageMagick has installed we’ll create a new Rails 3.1 application that we’ll call store. Spree can be integrated into an existing Rails application but it’s a good idea to try it out in a new app first so that you can see what it adds.
$ rails new store
To install Spree and its many dependencies we need to add it to the application’s Gemfile and then run bundle. Spree is updated pretty regularly so we’ve specified the version number. Version 0.70.1 is the current version at the time of writing.
/Gemfile
source 'http://rubygems.org'
gem 'rails', '3.1.1'
gem 'sqlite3'
# Gems used only for assets and not required
# in production environments by default.
group :assets do
  gem 'sass-rails',   '~> 3.1.4'
  gem 'coffee-rails', '~> 3.1.1'
  gem 'uglifier', '>= 1.0.3'
end
gem 'jquery-rails'
group :test do
  # Pretty printed test output
  gem 'turn', :require => false
end
gem 'spree', '0.70.1'
Once the gems have installed we need to run a generator to add Spree to our site.
$ rails g spree:site
This command does a number of things. It copies over the migration files that create the database tables that Spree needs and it customizes several of our application’s files, mostly ones under app/assets. The generator will also remove the application.js and application.css files, so if you’ve customized these you’ll need to integrate your changes with the way that Spree organizes the application’s assets.
If we look at the application’s /app/assets directory now we’ll see that each directory in there, images, javascripts and stylesheets, now has admin and store subdirectories. This is done so that we can keep the assets for the public-facing store and the private admin pages separate. If we look at the store’s all.css file (or application.js file) we’ll see that it requires several files that are inside Spree and automatically loads them.
/app/assets/stylesheests/store/all.css
/*
 * This is a manifest file that'll automatically include all the stylesheets available in this directory
 * and any sub-directories. You're free to add application-wide styles to this file and they'll appear at
 * the top of the compiled file, but it's generally better to create a new file per style scope.
 *
 *= require store/spree_core
 *= require store/spree_auth
 *= require store/spree_api
 *= require store/spree_promo
 *= require store/spree_dash
 *= require_self
 *= require_tree .
*/
There’s one more command we need to run to finish setting everything up. This will run the migrations that were copied over earlier. Note that it will ask if we want to destroy any existing data in the database.
$ rake db:bootstrap
This task will destroy any data in the database. Are you sure you want to
continue? [y/n] y
db/development.sqlite3 already exists
...
This command also asks us for an email address and a password for the admin user; we’ll use the defaults that are provided. Finally we’ll be asked it we want to load some sample data and we’ll do this so that we have something to see in the store.
Email [spree@example.com]:
Password [spree123]:
Load Sample Data? [y/n]: y
Now we can start up our application’s server and take a look.
A First Look At Spree
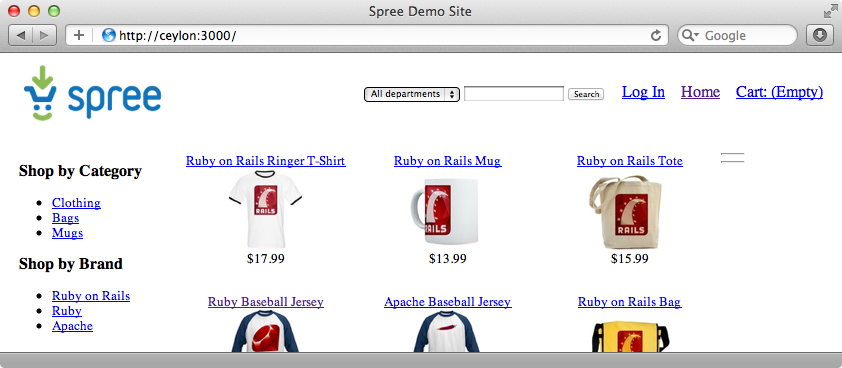
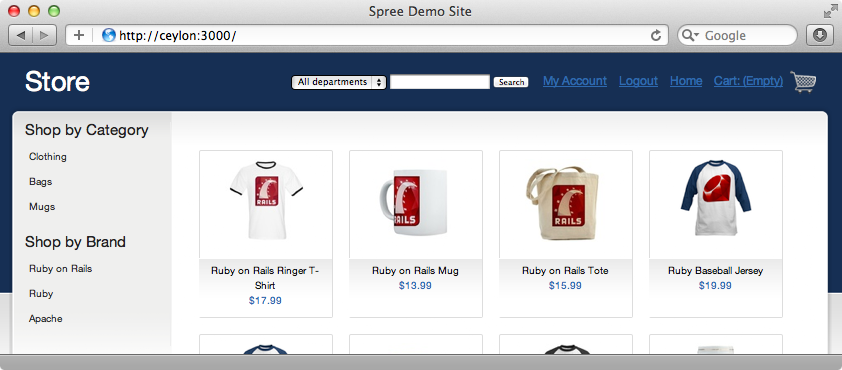
This is what our store looks like. By default there’s no theme applied so it looks fairly plain, but we do have a full e-commerce store on our site containing the sample products that we loaded when we ran the generator, including a shopping cart and a checkout process.
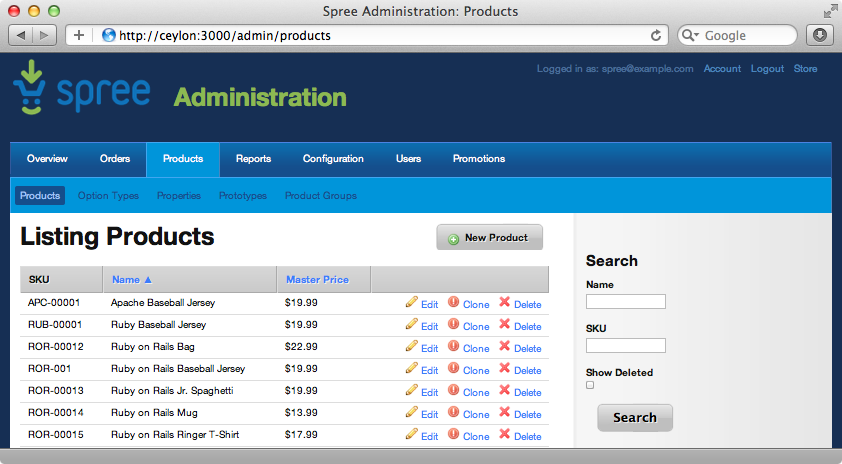
There’s also an administration section available at http://localhost:3000/admin and once we’ve logged in using the email address and password we supplied when we ran the generator we can view it. This is also pretty fully featured and allows us to see orders that were placed and various charts to see what the best selling products are. There are also pages that let us view and edit the products and orders.
The administration section also has a number of configuration options including the ability to change the payment methods your store supports. There are different payment methods for the different environments and when we edit one of these we can change the payment gateway that it uses. When we do so Spree will give us the option to enter credentials for that gateway so that we can configure it for any payment gateways we have.
Customizing Spree
We have a fairly comprehensive e-commerce solution in our Rails application now but what if we want more control over exactly how the store looks to the customer? The default look is fairly bland and this is because no theme is applied. We’ll spend the rest of this episode showing various ways that we can customize the look and behaviour of the store.
Spree supports themes and extensions and the Blue Theme serves as a good example of how we can customize Spree. This theme, like most things in Spree, is a Rails engine, and we can use it to override various things in the app/assets and app/overrides directories. To install the theme we add the following line to the Gemfile and run bundle.
/Gemfile
gem 'spree_blue_theme', :git => 'git://github.com/spree/spree_blue_theme.git'
To get the theme to work we found it necessary to change a stylesheet file and replace the default styles (the ones that begin with require store/) with the one provided by the theme.
/app/assets/stylesheets/store/all.css
/*
 * This is a manifest file that'll automatically include all the stylesheets available in this directory
 * and any sub-directories. You're free to add application-wide styles to this file and they'll appear at
 * the top of the compiled file, but it's generally better to create a new file per style scope.
 *
 *= require store/screen
 *= require_self
 *= require_tree .
*/
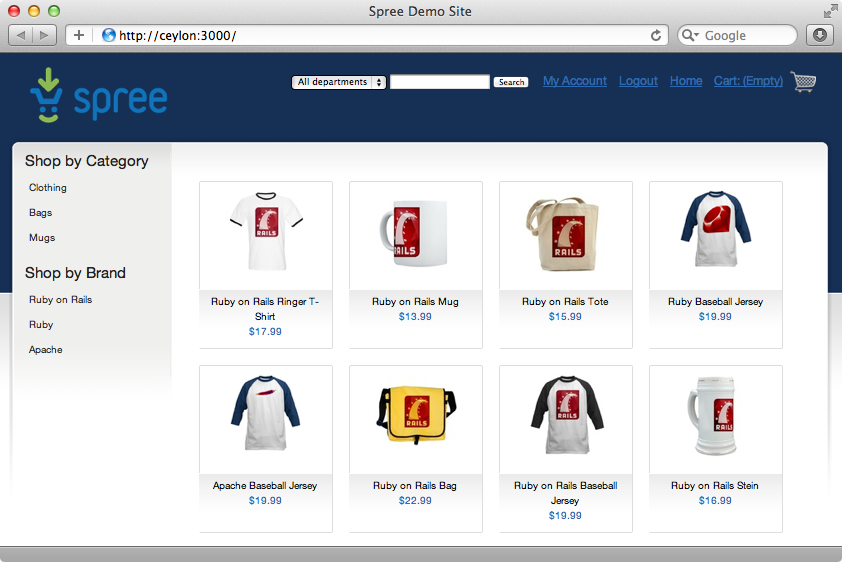
The store now looks quite different and whether we choose to use themes or not it serves as a good example of we can customize the look of a Spree application.
Customizing Individual Parts of The Site
Next we’ll look at customizing parts of the site individually. If, for example, we want to change the logo at the top left of the page with one of our own we can do so. The default image is stored at /assets/admin/bg/spree_50.png and is provided by the Spree engine but we can override this in our application.
There are two ways we can do this. One way is to create a /app/assets/images/admin/bg directory in our application and copy another image, say the default rails.png image, there, renaming it to spree_50.png. This image will override the default one and we’ll see it when we reload the page (although we may have to restart the server for the change to be picked up).
Another way we can change the logo is to override part of Spree’s configuration. The default configuration is set in a file that has a large number of configuration options. These includie a logo option that points to the location of the default logo file. Spree provides an entire preferences system that allows us to configure these options in various ways. We can do it through the database, through an admin panel or we can create an initializer and make the changes through Ruby. We’ll take the latter option and create a new spree.rb configuration file.
/config/initializers/spree.rb
Spree::Config.set(logo: "store/rails.png")
We call Spree::Config.set to set configuration options and having set the logo option we can move our image to /app/assets/images/store/ and rename it to rails.png. When we reload the page now the image is at http://localhost:3000/assets/store/rails.png.
We can also customize Spree by overriding parts of a a template. To do this we first have to find the template in the Spree source code. This isn’t difficult to do but we’ll need to be aware that we browse the source code of the same version of Spree that we’ve included. In our case we’ll need to browse version 0.70.1. Once we’re sure we’re looking at the right version can navigate to core/app/views/layouts where we’ll find a spree_application.html.erb file. This is the template that we want to override as it contains the code that renders the logo.
/app/views/layouts/spree_application.html.erb
<div id="logo" data-hook>
  <%= logo %>
</div>
There are a couple of ways that we can override this to change the way it looks. We could copy the entire layout file into the same location in our application. Spree will then use this template over its default one and any changes we make to it will be reflected in our application.
Another way is to use a gem called Deface. We don’t have to install this gem as it’s already a dependency of Spree and we can use it in the /app/overrides directory that Spree generated to override parts of Spree’s templates. The README information on the project’s homepage contains various examples showing how it works. We’ll copy the first example listed into a new file in this directory called logo.rb and modify it for the part of the page we want to change.
/app/overrides/logo.rb
Deface::Override.new(:virtual_path => "layouts/spree_application",
                     :name => "logo",
                     :replace_contents => "#logo",
                     :text => "Store")
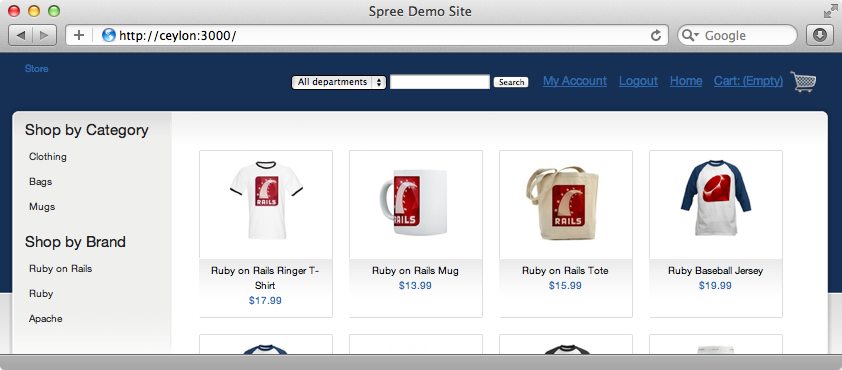
There are four options we need to specify here. The virtual_path is the path to the erb template we want to modify, while the name can be anything we want. We want to replace the contents of a div with an id of logo so we’ll use the replace_contents option and pass it a CSS selector that matches that div. The final option specifies what we want to replace the contents with; for now we’ll replace the logo with the text “Store”.
When we reload the page now the logo has gone and the text appears in its place.
We’ve replaced the image with the text but we need to style it a little. We can add the styling under the stylesheets/store directory and it’s good practice to do this in a new file. We’ll make the text larger and colour it white.
/app/assets/stylesheets/store/layout.css.scss
#logo {
  font-size: 32px;
  color: #FFF;
}
When we visit the application now we’ll see the customized styling.
That’s it for this episode. There’s a lot more to Spree than we’ve covered here and you’re encouraged to read the Spree Guides for more information. There’s a topic there for pretty much everything you could need to know about Spree.