
241: Simple OmniAuth
(view original Railscast)
Other translations:


A few weeks ago episodes 235 [watch, read] and 236 [watch, read] covered OmniAuth. OmniAuth provides a great way to integrate third-party authentication services such as Twitter and Facebook into your Rails applications. The scenario we presented in those episodes was rather complicated as we were integrating OmniAuth into an application that had an existing username and password system, in this case Devise. We were also handling and providing multiple authentications per user. If you don’t need these extra requirements then authentication with OmniAuth can be much more simple and we’ll demonstrate that in this episode.
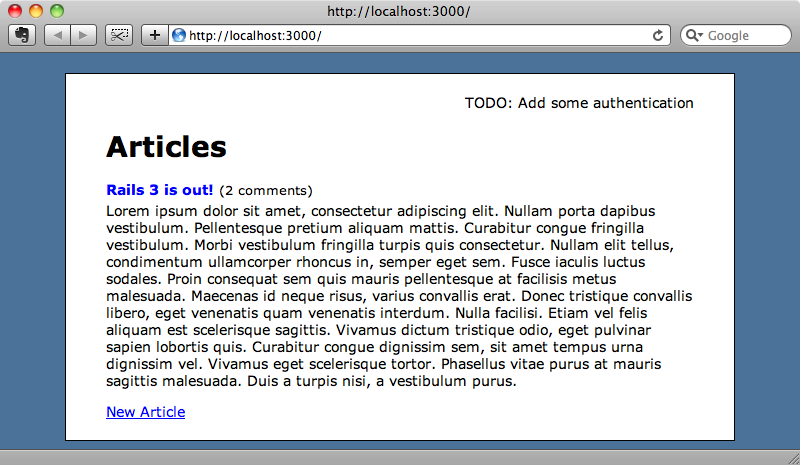
The application we’ll be using in this episode is the simple blogging app we’ve used previously. It currently has no authentication so we’ll add authentication via Twitter using only OmniAuth. We won’t be using Authlogic, Devise or any other type of authentication solution so that we can show just how simple OmniAuth is.
The first step is to add the OmniAuth gem. Our application is written in Rails 3 so we’ll need to add the gem to our Gemfile.
/Gemfile
gem "omniauth"
Don’t forget to run bundler to make sure that all of the necessary gems are installed. Next we’ll create an initializer file called omniauth.rb to load OmniAuth. In this file we’ll add code to load OmniAuth and configure it to use Twitter.
/config/initializers/omniauth.rb
Rails.application.config.middleware.use OmniAuth::Builder do
  provider :twitter, 'CONSUMER_KEY', 'CONSUMER_SECRET'
end
Note that we add OmniAuth to our application as middleware. OmniAuth is pretty much just Rack middleware which is great as it means that it stays decoupled from the rest of our application. Because of this we can implement authentication in our application however we want.
We have just one provider for authentication: Twitter. We’ll need to replace the CONSUMER_KEY and CONSUMER_SECRET values in the code above with real values. We can get these by signing up at the Twitter developer site and registering our application. Once we’ve done that we can get started with adding authentication to our application.
In our application’s layout file have some placeholder text that we’ll need to replace with a login link. This will link to the OmniAuth twitter URL which for our application is /auth/twitter.
/app/views/layouts/application.html.erb
<div id="user_nav">
  <%= link_to "Sign in with Twitter", "/auth/twitter" %>
</div>
Our application now has a sign in link and when we click it we’ll be redirected to Twitter’s web site and asked if we want to give the application access. If we click ‘allow’ we’ll be redirected back to our application where we’ll see a routing error.
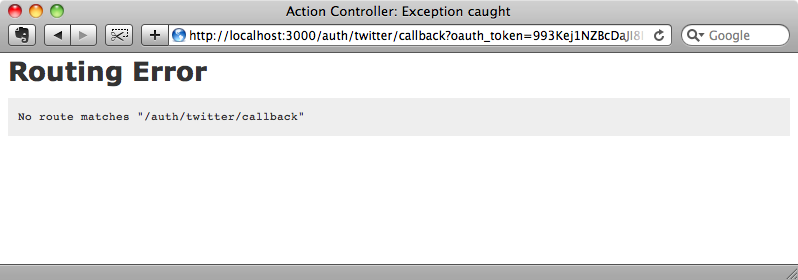
We see this error because the browser is redirected back to the callback URL that OmniAuth triggers after it has successfully authenticated. We’ll need to have a route in the application’s routes file to match this. To handle authentication we’ll create a new SessionsController and have the route redirect to its create action.
/config/routes.rb
Blog::Application.routes.draw do |map|
  root :to => "articles#index"
  match "/auth/:provider/callback" => "sessions#create"
  resources :comments
  resources :articles
end
Note that we’ve replaced the twitter part of the URL with a :provider parameter so that the route will match authentication via any provider that we implement.
Next we’ll generate the new SessionsController.
$ rails g controller sessions
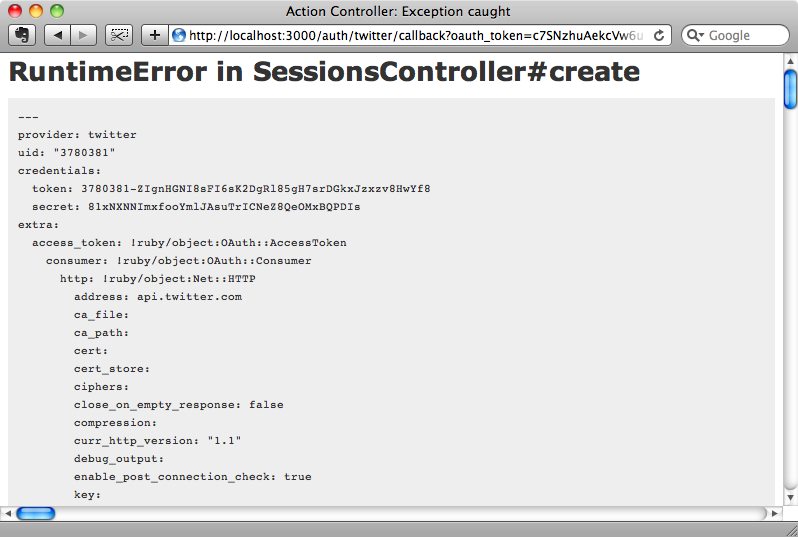
When the application returns from authenticating there’s an environment variable available called omniauth.auth that contains a hash of information about the authentication. For now we’ll show this information by raising it as an exception.
/app/controllers/sessions_controller.rb
class SessionsController < ApplicationController
  def create
    raise request.env["omniauth.auth"].to_yaml
  end
end
If we sign in now we’ll see the information about our Twitter authentication displayed when we’re redirected back to our application.
We can use some of the information in this hash to either sign in an existing user or create a new user if no matching account is found. Our application doesn’t have a User model so we’ll need to generate one.
$ rails g model user provider:string uid:string name:string
It’s important that this model has provider and uid columns as these are the fields that we’ll be identifying user by when they login and we’ll also give the model a name field. Next we’ll migrate the database.
$ rake db:migrate
Now we can go back to the SessionsController and use the OmniAuth information to fetch or create a new user.
/app/controllers/sessions_controller.rb
class SessionsController < ApplicationController
  def create
    auth = request.env["omniauth.auth"]
    user = User.find_by_provider_and_uid(auth["provider"], auth["uid"]) || User.create_with_omniauth(auth)
  end
end
In the create method we try to find a user by the provider and uid values from the OmniAuth hash. If no match is found then we create a new user using a class method on User called create_with_omniauth that we’ll write now.
/app/models/user.rb
class User < ActiveRecord::Base
  def self.create_with_omniauth(auth)
    create! do |user|
      user.provider = auth["provider"]
      user.uid = auth["uid"]
      user.name = auth["user_info"]["name"]
    end
  end
end
Note that in the method above we call create! with a block. This is useful as it allows us to modify the new user before it’s saved to the database and because it returns the new user. Now that we’ve written this method we can go back to the controller and finish writing the create method. We’ll store the user’s id in the session then redirect to the home page and display a flash message.
/app/controllers/sessions_controller.rb
class SessionsController < ApplicationController
  def create
    auth = request.env["omniauth.auth"]
    user = User.find_by_provider_and_uid(auth["provider"], auth["uid"]) || User.create_with_omniauth(auth)
    session[:user_id] = user.id
    redirect_to root_url, :notice => "Signed in!"
  end
end
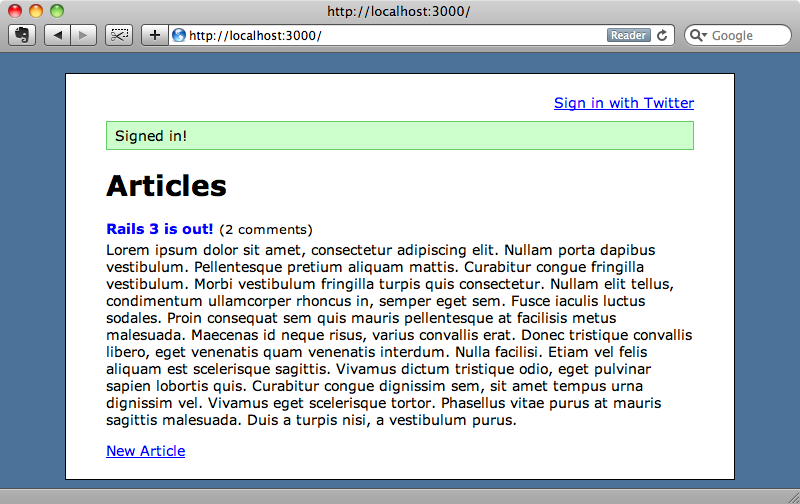
Now when we click the “Sign in with Twitter” link we’ll be signed in automatically behind the scenes (assuming that we’re already signed in to our Twitter account).
There’s a problem with the page, though. Although we have signed in the link at the stop still says “sign in”. Instead it should display the logged-in user’s name and give them a link to sign out.
We need a way to access the currently logged-in user so we’ll add a current_user method to the ApplicationController class. This method will get the current user based on the user_id in the session and cache the result in an instance variable. We’ll make it a helper method so that it can be accessed from views as well as controllers.
/app/controllers/application_controller.rb
class ApplicationController < ActionController::Base
  protect_from_forgery
  helper_method :current_user
  private
  def current_user
    @current_user ||= User.find(session[:user_id]) if session[:user_id]
  end
end
We can now modify the layout file so that the sign-in link only shows when the user isn’t logged in. When they are we’ll show their name instead.
/app/views/layouts/application.html.erb
<div id="user_nav">
  <% if current_user %>
    Welcome, <%= current_user.name %>!
  <% else %>
    <%= link_to "Sign in with Twitter", "/auth/twitter" %>
  <% end %>
</div>
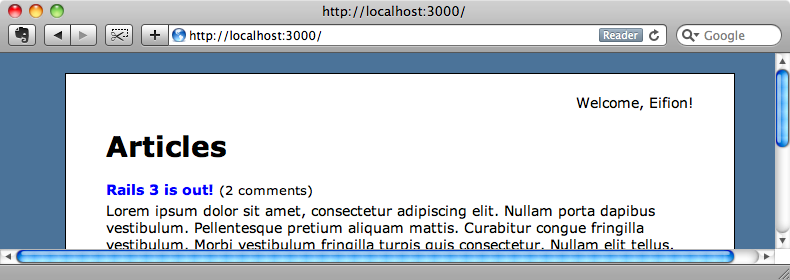
If we reload the page now we’ll see “Welcome, Eifion!” at the top as that is who we’re currently logged in as.
It would be handy to have a sign out link too so we’ll add one next to the user name. This will link to a signout_path that we don’t yet have.
/app/views/layouts/application.html.erb
<div id="user_nav">
  <% if current_user %>
    Welcome, <%= current_user.name %>!
    <%= link_to "Sign Out", signout_path %>
  <% else %>
    <%= link_to "Sign in with Twitter", "/auth/twitter" %>
  <% end %>
</div>
We’ll map the signout_path to the SessionController’s destroy action.
/config/routes.rb
match "/signout" => "sessions#destroy", :as => :signout
Adding :as => :signout to the route allows us to reference the signout_path above. We’ll write the destroy action now.
/app/controllers/sessions_controller.rb
def destroy
  session[:user_id] = nil
  redirect_to root_url, :notice => "Signed out!"
end
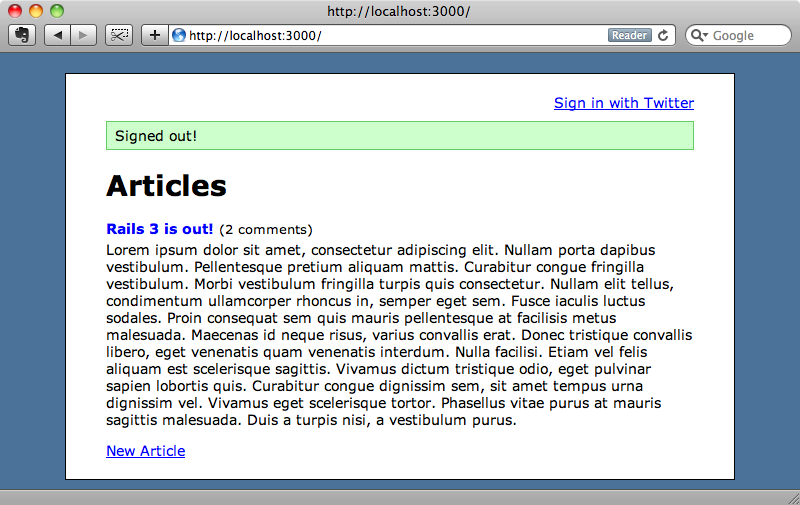
When we reload the page now there’ll be a sign-out link and when we click it we’ll be signed out.
Adding Other Providers
Because we’re using OmniAuth it’s easy to add other providers too. For example to add authentication via Facebook we can just add another link in the page layout.
/app/views/layouts/application.html.erb
<div id="user_nav">
  <% if current_user %>
    Welcome, <%= current_user.name %>!
    <%= link_to "Sign Out", signout_path %>
  <% else %>
    <%= link_to "Sign in with Twitter", "/auth/twitter" %>
    <%= link_to "Sign in with Facebook", "/auth/facebook" %>
  <% end %>
</div>
We’ll need to add the appropriate credentials to the omniauth.rb initializer file and then our application will support logging in through Facebook. We could add OpenId, LinkedIn or any of the other supported providers.
If you don’t need a traditional username and password authentication in your application and you don’t need to support multiple types of authentication per account this solution works very well and is simple to add to any application.