
200: Rails 3 Beta and RVM
(view original Railscast)
Other translations:


What better way to celebrate episode 200 than with a first look at Rails 3? The first beta version of Rails 3.0 has just been released and in this episode we’ll show you how to get it installed and set up. Then over the next few episodes we’ll cover the new features in depth. Even if you don’t plan on upgrading any of your applications soon it’s still worth installing the beta so that you can get your feet wet with it and play with some of the new features.
Updating Ruby
Rails 3 needs Ruby 1.8.7 or later to run, so the first thing to do is to see which version you currently have by running ruby -v in a terminal window.
$ ruby -v
ruby 1.8.6 (2008-08-11 patchlevel 287) [universal-darwin9.0]
This machine is running Ruby 1.8.6 so we’ll need to upgrade Ruby before we can go any further. We could do this manually but instead we’re going to use rvm, the Ruby Version Manager. This allows us to install different versions of Ruby easily and switch between them with just a single command.
If you’re running Windows then rvm isn’t available and you will have to install Ruby manually. On Linux, OS X or other UNIX-based operating systems we can install rvm by following the instructions on the installation page and running the following command:
mkdir -p ~/.rvm/src/ && cd ~/.rvm/src && rm -rf ./rvm/ && git clone git://github.com/wayneeseguin/rvm.git && cd rvm && ./install
After the command has finished running we’ll be given some instructions to finish the installation off. These instructions will differ depending on whether we’re running bash or zsh. Once we’ve followed those instructions and made the relevant changes we’ll need to close and reopen the terminal. We can then run the rvm command to install any version of Ruby we want.
Rails 3.0 needs Ruby 1.8.7 to run but it will also work under 1.9.1 and as we’re feeling adventurous we’ll install that version instead. To do this we run:
$ rvm install 1.9.1
This will download, configure and install Ruby 1.9.1 which will take a few minutes to do and it will keep your lap warm while it does it if you’re installing on a laptop. When it finishes we can type rvm list to see which versions of Ruby we have installed.
noonoo:~ eifion$ rvm list
   ruby-1.9.1-p378 [ x86_64 ]
   system [ x86_64 i386 ppc ]
As we now have Ruby 1.9.1 as an installed version we can switch to it to make it the active version.
$ rvm 1.9.1
$ ruby -v
ruby 1.9.1p378 (2010-01-10 revision 26273) [i386-darwin10.2.0]
The new Ruby version will only be active for as long as we have a terminal window open. If we close and reopen the terminal we’ll be back to the default version of Ruby. To make the new version ‘stick’ we can pass the --default parameter to rvm.
$ rvm 1.9.1 --default
$ ruby -v
ruby 1.9.1p378 (2010-01-10 revision 26273) [i386-darwin10.2.0]
Now we can open as many new shells as we like and 1.9.1 will be the Ruby version each time.
If at any time we want to revert to the system version of Ruby we can use rvm system, passing --default if we want to permanently revert to the system-installed Ruby.
Installing The Rails Beta
Now that we have a supported version of Ruby installed we can install the Rails 3 beta. To do so we need to run these two lines from the Ruby on Rails Weblog3 in the console.
gem install tzinfo builder memcache-client rack rack-test rack-mount erubis mail text-format thor bundler i18n
gem install rails --pre
Because we’re installing a pre-release version of Rails we have to install the prerequisites separately which is what the first line above will do for us. Note that we’re not prefixing the gem command with sudo. As we’re using rvm we don’t want to use sudo when installing gems so you’ll need to take care and remember that. The gems page on the rvm site has more details about this.
Once both commands have run we’ll have Rails 3.0 installed and we can start trying it out.
Using Rails 3.0
First we’ll make sure that Rails 3 has been installed by running rails -v.
$ rails -v
Rails 3.0.0.beta
If you see an error when you try this then you should close your terminal window and reopen it then try the command again. Once we know we have Rails 3.0 working we can create our first application. This will be a very simple application that will store game highscores and we’ll call it topscore. We create a Rails 3.0 application in the same way we always have:
rails topscore
But when we move to the application’s directory and try to start the server we’ll notice the first difference.
¸
$ script/server
-bash: script/server: No such file or directory
None of the commands under the script directory are there any more so how do we start the server? The answer is that we run them through the rails command like this:
rails server
When we run this now though we’ll get a huge error message for our troubles, but small stumbling blocks like this are to be expected in a beta release. If we look through the error message we’ll see an error about a missing sqlite3-ruby gem. As we already have that gem installed on our machine this might be a little confusing but each version of Ruby we have installed comes with it own basic set of RubyGems so any additional gems needed will have to be installed for each version. Therefore we’ll need to install the sqlite3-ruby gem for Ruby 1.9.1, again making sure not to prefix it with sudo.
gem install sqlite3-ruby
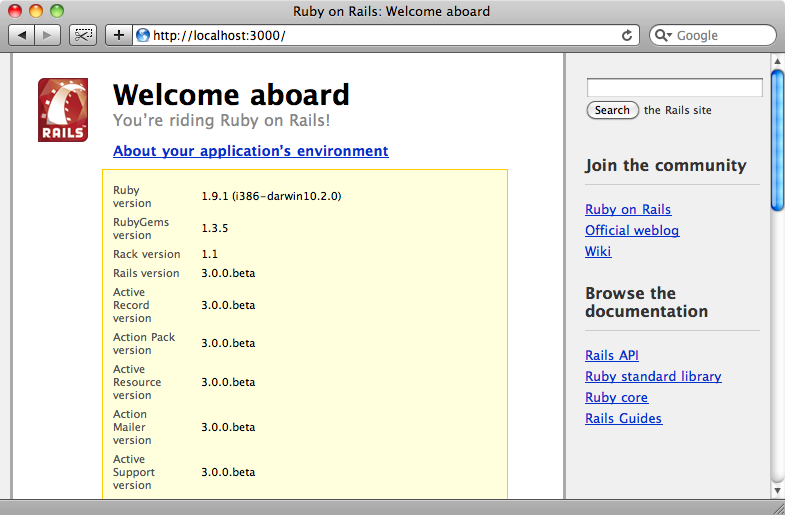
This time when we run rails server we’ll see a lot of output and a few warnings but the server will start. If we visit http://localhost:3000 with a browser we’ll see the default Rails page.
Now we can start building our application. We’ll start by generating the scaffolding for a Game model that will have a name attribute of type string.
rails generate scaffold game name:string
Again you’ll see a lot of output when we run the command but the command will work. Next we’ll migrate the database.
rake db:migrate
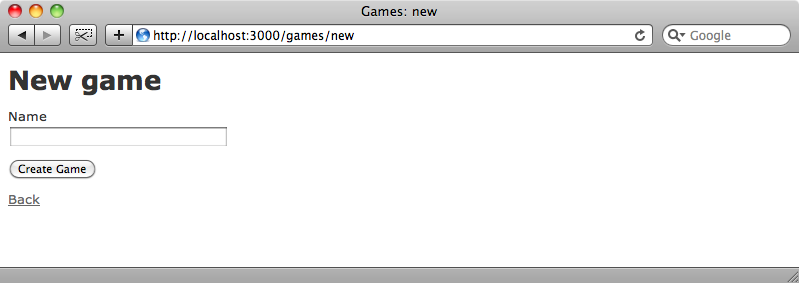
If we then visit the games page we’ll see the usual scaffold-generated pages you’ll no doubt have seen before in other Rails applications.
That’s as far as we’re going to take this application. In future episodes we’ll be covering the new features of Rails 3 in depth but in the mean time it’s worth reading the Rails 3.0 Release Notes for an overview of what has changed. There is also an extensive collection of links about Rails 3 on Ruby Inside.
As you will be working with beta software there is a chance that things won’t work quite correctly and you’ll come across bugs or problems. If you do come across an error that you know isn’t related to your code the first thing to do is to check which additional gems or plugins your application is using. There’s a good chance that one of these may be causing the problem as it may have not yet been upgraded to work with Rails 3 or Ruby 1.9. If you do track a problem to a specific gem or plugin then you should add an issue or ticket on that gem’s project page so that it can be addressed.
If you know that the problem is with Rails itself then you can submit a ticket at the Rails Lighthouse. If you do decide to submit an issue then it’s worth bearing the following tips in mind. Firstly you should search through the existing tickets and make sure that you’re not duplicating an existing issue. When you’re writing your ticket make sure to include instructions on how to reproduce the error along with the full error messages and stack trace that you get. Finally include the exact version of Ruby and Rails that you’re running along with the plugins and gems you have installed so that it is easier to duplicate the problem. Submitting good tickets will help them be noticed and make it easier to fix the problem.
Give Back To Open Source
As you’ve probably noticed this is episode 200 and to mark the 200th Railscast Ryan Bates is launching a campaign called “Give Back To Open Source”. A lot of work goes into open source software which is then made freely available for anyone to use so it makes sense to give something back when we can. Ryan’s challenge to you is to open up your largest Rails application and look at the various plugins and gems that it uses. If you look at each gem’s project page you’ll find that many of them accept donations and even a small contribution would be greatly appreciated and help to keep that gem in development.
Alternatively you could look at the issues list for the project and fork the project and fix a bug or assist with the documentation. It up to you do decide how you contribute but you’re encouraged to do so as this will help to keep the Rails community moving forward.