
253: CarrierWave File Uploads
(view original Railscast)
Other translations:


Let’s say that we are building a site that allows artists to upload their paintings and display them in a gallery. Part of the site is already built: there is a page that lists the galleries, with a link to each gallery and a page that shows a gallery’s pictures.
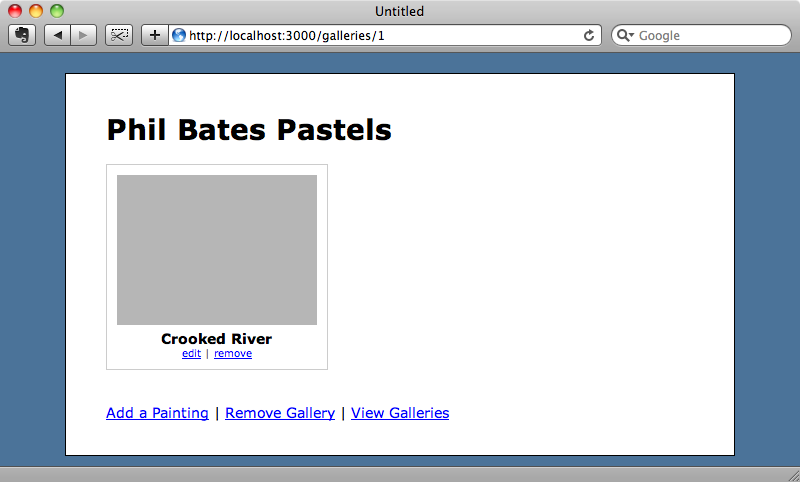
Each painting has a name and a placeholder for an image but no image. If we try to add a new painting to the gallery we’ll see that there’s a text box for the name field but no way of uploading an image.
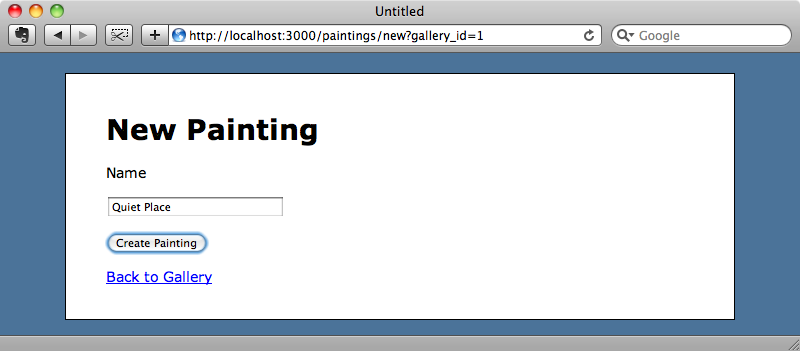
How should we implement the functionality to attach an image to a painting? The Paperclip gem, which was covered back in episode 134 [watch, read], can handle file attachment fields in Rails models but this time we’re going to use a new gem called CarrierWave instead.
CarrierWave is more flexible than Paperclip. It is based on Rack, which means that it works with Rails, Sinatra and other Rack-based Ruby applications, and it supports a variety of ORMs including ActiveRecord, DataMapper, Mongoid. Another significant difference between CarrierWave and Paperclip is that CarrierWave keeps everything in a separate Uploader class so that all of the file attachments and the processing logic belongs there. This way file attachments don’t end up mixed with the application’s model classes.
Installing CarrierWave
The first step is to add the CarrierWave gem to our application. The gem is installed in the usual way by adding a reference to it in the application’s Gemfile.
/Gemfile
gem 'carrierwave'
We’ll need to run bundle to make sure that the gem is installed on our system. Once it has installed the first thing we’ll need to do is generate an uploader class. CarrierWave provides a generator called uploader to do this to which we pass the name we want to give our uploader, in this case image.
$ rails g uploader image
      create  app/uploaders/image_uploader.rb
The generator creates a new directory called uploaders under the app directory and in it a file called image_uploader.rb. In this file are a number of comments explaining how to customize the uploader. For example there is code to change the upload location, perform processing on the image after uploading and to restrict the type of files that can be uploaded. We’ll leave the defaults as they are for now and come back and make some customizations later.
Next we’ll need to add the uploader to the Painting model. We’ll need a column in the paintings table to store it in so we’ll generate a migration to do add it.
$ rails g migration add_image_to_paintings image:string
Note that the new column is a string and has the same name as we gave the uploader when we generated it. We’ll need to run rake db:migrate to update the database.
Next we’ll add the uploader to the Painting model which is done by calling the mount_uploader method, passing in the column name that we generated above and the class for the uploader. We also need to add the image column to the list in the attr_accessible call so that it can be accessed from the controllers.
/app/models/painting.rb
class Painting < ActiveRecord::Base
  attr_accessible :gallery_id, :name, :image
  belongs_to :gallery
  mount_uploader :image, ImageUploader
end
With this in place we can modify the form for adding or modifying a painting so that it has a file upload field. While we’re doing this we’ll need to modify the form so that it can handle file attachments by adding a :html option to form_for.
/app/views/paintings/_form.html.erb
<%= form_for @painting, :html => {:multipart => true} do |f| %>
  <%= f.error_messages %>
  <%= f.hidden_field :gallery_id %>
  <p>
    <%= f.label :name %><br />
    <%= f.text_field :name %>
  </p>
  <p>
    <%= f.file_field :image %>
  </p>
  <p><%= f.submit %></p>
<% end %>
Viewing The Uploaded Images
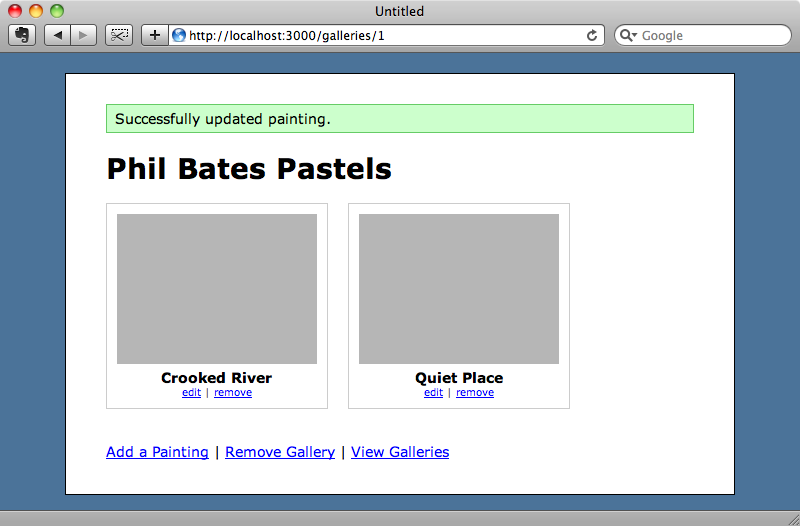
When we go to edit a painting now there is a file upload field on the form and we can upload an image file. When we do we’ll see a message telling us that the upload was successful, but we won’t see the photo we’ve uploaded in the gallery.
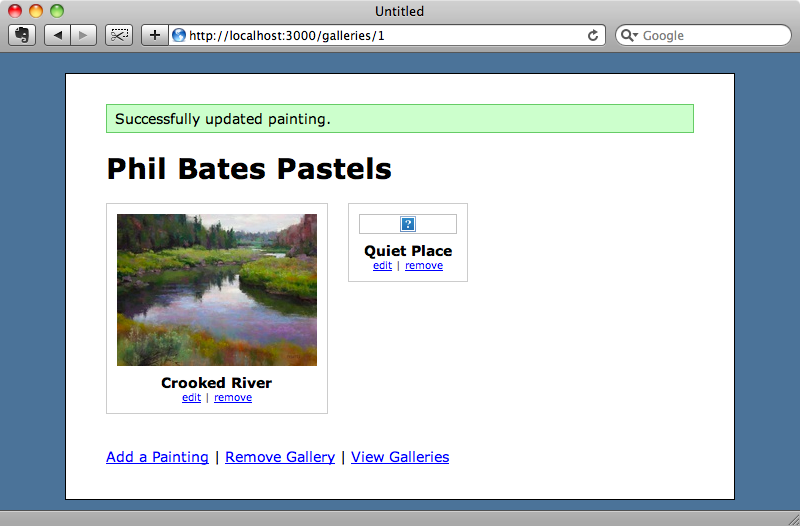
We need to show the uploaded image where the placeholder is. In the GalleryController’s show template there is some code that loops through each painting in the gallery and this outputs an image placeholder div. We’ll replace this with the image itself, using image_tag, which will link to each painting’s image_url. This will return nil for pictures without images and so we’ll call to_s on it so that it works with image_tag.
/app/views/show.html.erb
<div id="paintings">
  <% @gallery.paintings.each do |painting| %>
    <div class="painting">
      <%= image_tag painting.image_url.to_s %>
      <div class="name"><%= painting.name %></div>
      <div class="actions">
        <%= link_to "edit", edit_painting_path(painting) %> |
        <%= link_to "remove", painting, :confirm => 'Are you sure?', :method => :delete %>
      </div>
    </div>
  <% end %>
  <div class="clear"></div>
</div>
If we reload the page now we’ll see the uploaded image but it will be bigger than the placeholder.

It would be useful if we could resize images to fit. If we look in the ImageUploader class that was generated earlier we’ll see some commented-out code for processing images.
/app/uploaders/image_uploader.rb
  # Process files as they are uploaded:
  # process :scale => [200, 300]
We don’t want to resize the original image, instead we want to make a separate thumbnail image and display a link to the original full-sized image. The ImageUploader class has a version method we can call that will do this for us. This method takes a block in which we can call process to perform some processing on the thumbnail version. The process method is fairly flexible and takes a hash of options. It will then loop through each key in the hash, looking for a method with the same name as that key and pass in that key’s values as a parameter. To create a thumbnail image we can write something like this.
/app/uploaders/image_uploader.rb
# Create different versions of your uploaded files:
version :thumb do
  process :scale => [50, 50]
end
def scale(width, height)
  # do something
end
We don’t want to have to write the scaling method manually and thankfully we don’t have to, we can use RMagick to do the scaling for us. CarrierWave has a CarrierWave::RMagick module we can include that will enable RMagick. If we look at the documentation for the RMagick module we can see the methods that will be included when we include the module. These include several methods for resizing an image, including one called resize_to_limit which will resize an image while maintaining its aspect ratio. To use it we just need to uncomment the following line in the uploader class.
/app/uploaders/image_uploader.rb
include CarrierWave::RMagick
We can then uncomment the version method and call process :resize_to_limit in the block. This method takes a maximum width and height as arguments and we’ll restrict the thumbnails to a maximum of 200 x 200 pixels.
/app/uploaders/image_uploader.rb
version :thumb do
 process :resize_to_limit => [200, 200]
end
For the resizing to work we’ll need to include the RMagick gem in the Gemfile.
/Gemfile
gem "rmagick"
As always we’ll need to run bundle to make sure that the gem is installed. RMagick depends on ImageMagick so make sure you have the latest version of that installed before trying to install the RMagick gem. If you’re using OS X then you can install ImageMagick via HomeBrew or MacPorts.
To render the thumbnail image in the view instead of the full-sized one we can specify the version we want by passing it as an argument to image_url.
/app/views/show.html.erb
<%= image_tag painting.image_url(:thumb).to_s %>
To try this out we’ll need to upload the image again so that the thumbnail is processed. When we do so we’ll see the thumbnail image displayed in the gallery.
Uploading Images via a URL
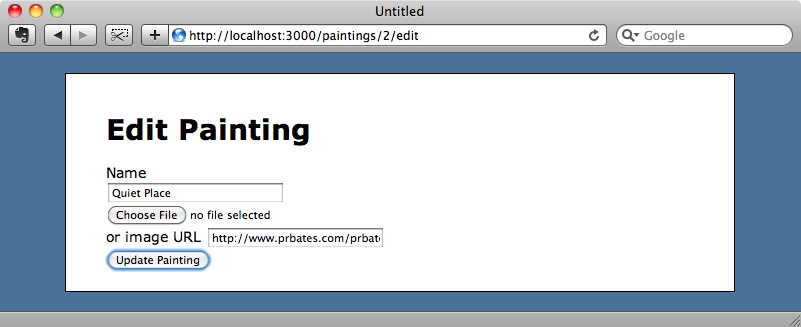
Another feature that CarrierWave provides is the ability to add photographs via a URL instead of uploading them directly. We can do this by adding another field to the upload form called remote_image_url. The name is important, when CarrierWave sees a field with that name it knows that it has to fetch the image from a URL.
/app/views/paintings/_form.html.erb
<%= form_for @painting, :html => {:multipart => true} do |f| %>
  <%= f.error_messages %>
  <%= f.hidden_field :gallery_id %>
  <p>
    <%= f.label :name %><br />
    <%= f.text_field :name %>
  </p>
  <p>
    <%= f.file_field :image %>
  </p>
  <p>
    <%= f.label :remote_image_url, "or image URL" %>
    <%= f.text_field :remote_image_url %>
  </p>
  <p><%= f.submit %></p>
<% end %>
As we’ve added a field to the painting form we’ll need to add it to the list of attr_accessible fields in the Painting model.
/app/models/painting.rb
class Painting < ActiveRecord::Base
  attr_accessible :gallery_id, :name, :image, :remote_image_url
  belongs_to :gallery
  mount_uploader :image, ImageUploader
end
Now in the form we’ll have a remote_image_url field and we can enter a URL in that field to add an image to the painting without uploading it manually.
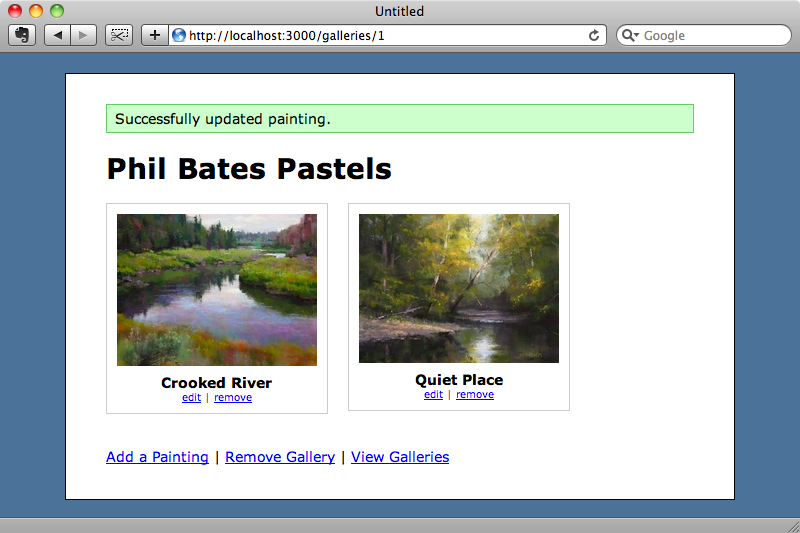
When we submit the form the remote image is fetched and its thumbnail is processed.
That’s all for this episode but there’s much more to CarrierWave and you’re encouraged to look at the documentation for it. One useful feature is the ability to make image uploads persist across form redisplays. If we add a hidden :image_cache field to the form and there is a validation error in the model when the form is submitted the uploaded file will persist when the form reloads. We can also add a checkbox field to the form to allow users to remove an image, and alter the storage options to store the uploaded images on Amazon’s S3 service.