
206: Action Mailer in Rails 3
(view original Railscast)
Other translations:


ActionMailer has changed significantly in Rails 3.0. It now has a new API and uses the Mail gem instead of the TMail gem and is much nicer to use. In this episode we’ll show you how to use it to send emails from your Rails applications.
We’ll demonstrate this in a new Rails 3 application called mailit.
rails mailit
Next we’ll generate a scaffold for a User model with name and email attributes to act as a simple user-registration page.
rails g scaffold user name:string email:string
Then run the database migrations:
rake db:migrate
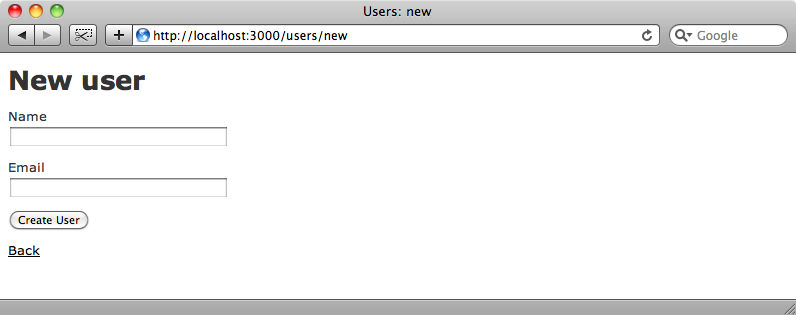
The generated scaffolding code includes a page for creating users. We want to create a new user and then send them a confirmation email when the form on this page is submitted.
The first thing we’ll do is create a new initializer file called setup_mail.rb and put some configuration options in it. ActionMailer will use sendmail if it’s set up on your machine but we can instead specify SMTP settings in the initializer.
/config/initializers/setup_mail.rb
ActionMailer::Base.smtp_settings = {
  :address              => "smtp.gmail.com",
  :port                 => 587,
  :domain               => "asciicasts.com",
  :user_name            => "asciicasts",
  :password             => "secret",
  :authentication       => "plain",
  :enable_starttls_auto => true
}
You’ll probably want to use a different approach in a production application but this is a good enough approach while our application is in development. Obviously you’ll want to change the domain, user_name and password options to suit your own Gmail account.
Now that we’ve completed the configuration we can generate a new mailer with the following code:
rails g mailer user_mailer
This will create a new file called user_mailer.rb in our application’s /app/mailers directory. Earlier versions of Rails put mailer classes in the /app/models directory but in Rails 3 they’ve been promoted to their a directory of their own. Mailers in Rails 3 behave like controllers and share a lot of code under the hood.
The default code in the UserMailer class looks like this:
/app/mailers/user_mailer.rb
class UserMailer < ActionMailer::Base
  default :from => "from@example.com"
end
We’re going to delete the default line from this class for now but we’ll explain what it does shortly.
As we would in a Rails 2 application we add a method to this class for each type of email we want to send, in this case we just want one method that we’ll call registration_confirmation.
/app/mailers/user_mailer.rb
class UserMailer < ActionMailer::Base
  def registration_confirmation(user)
    mail(:to => user.email, :subject => "Registered", :from => "eifion@asciicasts.com")
  end
end
We pass our registration_confirmation method a User object and all the method needs to do is call the mail method, passing it a hash of arguments such as :to, :from and :subject.
If we’re going to have multiple methods in our class that will share options then we can move these options out into the default method that we deleted earlier. If, for example, the emails will always be sent from the same address then we can put the :from option in to default, making the class look like this:
/app/mailers/user_mailer.rb
class UserMailer < ActionMailer::Base
  default :from => "eifion@asciicasts.com"
  def registration_confirmation(user)
    mail(:to => user.email, :subject => "Registered")
  end
end
Any of the options that can be specified in a mail method can be extracted out to default if they are going to be shared across multiple mail methods.
Like controllers mail messages need to have an associated view file. The view file for our registration email belongs in the /app/views/user_mailer directory. As we’re going to be sending plain-text emails we’ll call the file registration_confirmation.text.erb. Whatever we put in this file will appear as the body of the email.
/app/views/user_mailer/registration_confirmation.text.erb
Thank you for registering!
Next we need to write the code that will deliver the email when the user is created. Some people like to use a Model Observer to do this, but we’re going to keep the code in the controller layer. The reason for doing it this way is that if we do use an observer and then create User objects in the Rails console for testing purposes emails will be sent in the background which is something we don’t want. We only want the emails to be sent when users are interacting with the application itself in which case they’ll be passing through the controller.
So, given that we’ll write the code to send the email in the create action in the UsersController. All we need to do is call the registration_confirmation method we’ve just written, passing in the newly-created user and then call deliver on it.
/app/controllers/users_controller.rb
def create
  @user = User.new(params[:user])
  respond_to do |format|
    if @user.save
      UserMailer.registration_confirmation(@user).deliver
      format.html { redirect_to(@user, :notice => 'User was successfully created.') }
      format.xml  { render :xml => @user, :status => :created, :location => @user }
    else
      format.html { render :action => "new" }
      format.xml  { render :xml => @user.errors, :status => :unprocessable_entity }
    end
  end
end
This is different from what we would have done in Rails 2, where we would have called deliver_registration_confirmation as a single method call. Now we have a method that returns a mail message object then calling deliver on it so we can wait and call deliver later if we want to.
We can now try this out by registering a new user and when we submit the form an email should be sent.
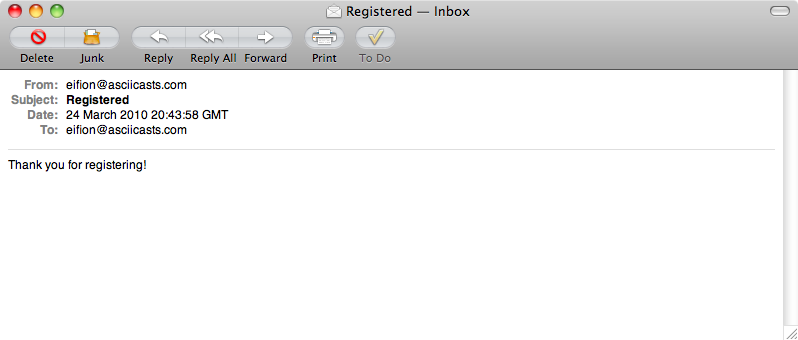
It works. Our email has been delivered.
What if we want to customize the email so that the newly registered user’s name is shown? To do this we’ll have to pass the user object into the view. Doing this in Rails 3 is easy as mailers act like controllers so any instance variables created will be available to the view. All we need to do is create an instance variable for the user that is passed to the registration_confirmation method and we can then use that in the view.
/app/mailers/user_mailer.rb
def registration_confirmation(user)
  @user = user
  mail(:to => user.email, :subject => "Registered")
end
The call to the mail method needs to be at the end of the method as it will return the mail message and therefore the instance variable needs to have been defined beforehand.
Now that we have the instance variable defined in the mailer we can use it in the view to add the user’s name to the email.
/app/views/user_mailer/registration_confirmation.text.erb
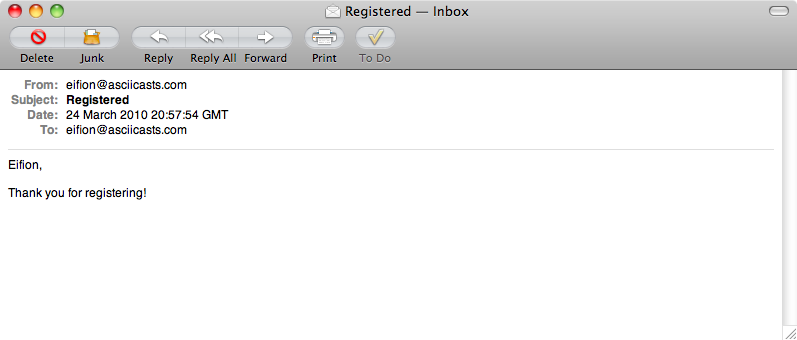
<%= @user.name %>,
Thank you for registering!
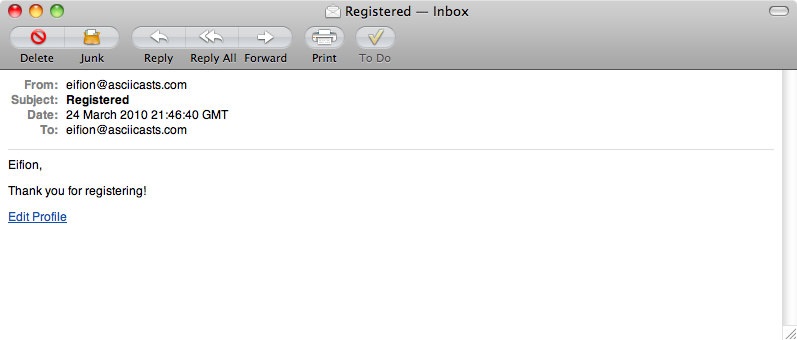
When we register again the new user’s name will be shown in the body of the email.
If we want to provide a link in the email so that a new user can edit their profile we can do so. Named routes are available in the view so we could write something like this:
Edit Profile: <%= edit_user_url(@user) %>
This will not work, however. We need to supply more information, namely a :host option containing the domain name of the application.
/app/views/user_mailer/registration_confirmation.text.erb
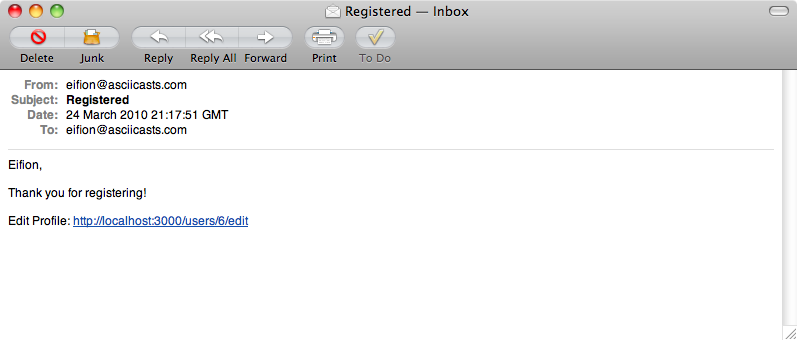
<%= @user.name %>,
Thank you for registering!
Edit Profile: <%= edit_user_url(@user, :host => "localhost:3000") %>
The reason that this extra option is necessary is that mailers are completely decoupled from the current request. This is a design decision made so that mailers can be sent through other means that are outside of the current request in the controller.
It would be good if we didn’t have to do this for every link in every email view and we can do this by setting the host value in the initializer file we created ealier.
/config/initializers/setup_mail.rb
ActionMailer::Base.smtp_settings = {
  :address              => "smtp.gmail.com",
  :port                 => 587,
  :domain               => "asciicasts.com",
  :user_name            => "asciicasts",
  :password             => "secret",
  :authentication       => "plain",
  :enable_starttls_auto => true
}
ActionMailer::Base.default_url_options[:host] = "localhost:3000"
We can specify any options we want here as a hash but we’ll just set the host for now. When we register again we’ll see the link in the email with the correct URL.
Multipart Emails and Attachments
Sending multipart emails is much easier in Rails 3 too. All we need to is create a new view file to handle the HTML part of the email with the same name as the text view, in this case registration_confirmation.html.erb. In this file we’ll just put a quick-and-dirty HTML version of the plain text email view.
/app/views/user_mailer/registration_confirmation.html.erb
<p><%= @user.name %>,</p>
<p>Thank you for registering!</p>
<p><%= link_to "Edit Profile", edit_user_url(@user, :host => "localhost:3000") %></p>
The email now has a link it in if we view it in a program capable of displaying HTML emails. Both parts are sent so that applications that can’t deal with HTML emails will show the plain text version.
Adding an attachment is also straightforward. All we need to do is add a new call to attachments, passing in the name of the attachment and reading the file into it.
/app/mailers/user_mailer.rb
def registration_confirmation(user)
  @user = user
  attachments["rails.png"] = File.read("#{Rails.root}/public/images/rails.png")
  mail(:to => "#{user.name} <#{user.email}>", :subject => "Registered")
end
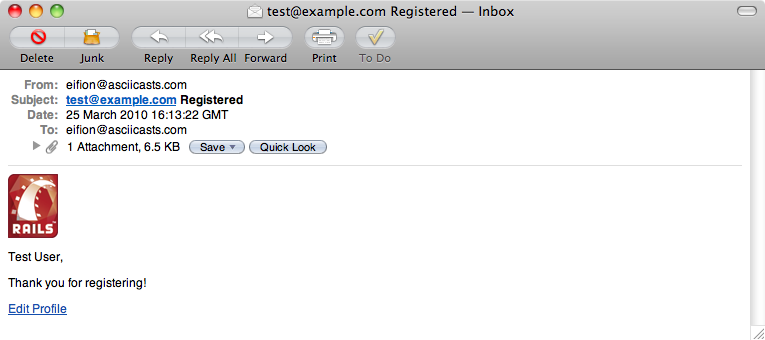
When we register again the email now has the rails.png file as an attachment. Note as well that we’ve changed the :to option in the mail method to include the user’s name.

As you can see it’s easy to create fairly complicated emails with very little code with the new ActionMailer API. The default options are sensible, which helps, but if you need more control over things like encoding types and so on then that is available to you to change.
Interceptors
We’ll finish off this episode by showing you a technique for intercepting mail messages before they’re delivered. One good use of this is to change the way that emails are handled in development mode so that they’re not sent out to any users you create but instead to your own account.
This is a feature that has only recently been added to the Mail gem so we’ll need to upgrade to the latest version (at least 2.1.3) to use it. To get the correct version we can modify our application’s Gemfile to add a reference to the gem by adding the following line:
/Gemfile
gem "mail", "2.1.3"
We can then run bundle install to install the updated version.
The next thing we need to do is create the interceptor class. This class can go in the /lib directory and we’ll call it development_mail_interceptor.rb.
/lib/development_mail_interceptor.rb
class DevelopmentMailInterceptor
  def self.delivering_email(message)
    message.subject = "[#{message.to}] #{message.subject}"
    message.to = "eifion@asciicasts.com"
  end
end
The class method delivering_email takes the mail message that is about to be sent and changes the subject line so that the person the email was originally meant for is prepended to the subject. The to field is then changed so that the email is sent to eifion@asciicasts.com.
Next we need to register the interceptor in our initializer file which we can to by adding the following line.
/config/initializers/setup_mail.rb
Mail.register_interceptor(DevelopmentMailInterceptor) if Rails.env.development?
This will call the delivering_email method in our interceptor class if our application is in development mode. When the next beta version of Rails 3.0 is released with an updated version of the Mail gem we can replace the call to Mail.register_interceptor with one to ActionMailer::Base.register_interceptor.
When we create a new user now the registration email will be sent to eifion@asciicasts.com no matter who it was actually intended for and the original recipient will appear in the subject line.
This is a great way of checking that your emails are working when you’re developing your application.
That’s it for this episode. I hope you found this episode useful. The new ActionMailer API makes it much easier to send emails from Rails applications.