
194: MongoDB and MongoMapper
(view original Railscast)
Other translations:


MongoDB is a document-based database engine which works differently from traditional relational databases such as MySQL in that it is schema-free. This episode will cover the basics of using MongoDB with the MongoMapper gem to create a simple Rails application. Many Rails developers first heard about MongoDB after a posting by John Nunemaker on his excellent RailsTips blog showing seven features of MongoMapper and MongoDB that contrast it with traditional relational databases. This post is well worth reading if you think you might be interested in using MongoDB.
One feature mentioned in the blog posting and one that makes MongoDB interesting is that you don’t need to use migrations as it’s basically a schema-less database engine. Each row is its own document which can have its own set of attributes different from the other rows in the database. As there is no fixed schema we can define one on the fly if we want to.
Installing MongoDB and MongoMapper
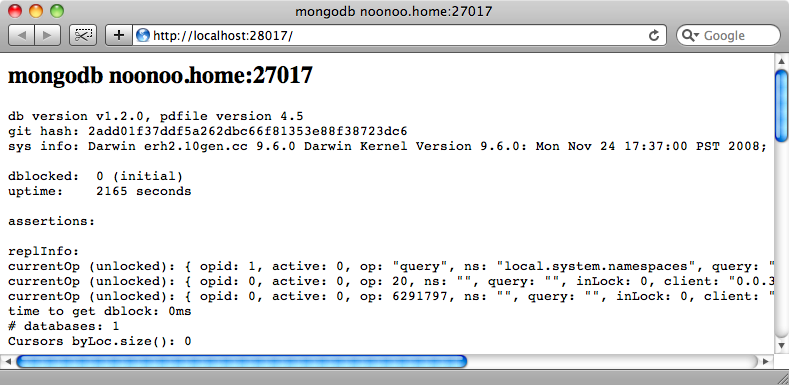
To create our application we’ll first need to install MongoDB. Downloads for various platforms can be found on the download page on the MongoDB site. If you’re using OS X there’s a great article on how to install and configure MongoDB on Chris Kampmeier’s site. This article includes a handy plist file that will allow you to create a LaunchDemon so that MongoDB will run automatically on startup. The article makes a reference to an old version of MongoDB so make sure that you install the latest version instead (1.2.0 at the time of writing). Once MongoDB is installed and configured you can visit http://localhost:28017/ to see if it’s working.
Creating a Rails Application With MongoDB
Now that we have MongoDB installed and running we can start creating a Rails application that will work with it. We’ll create a new Rails application from scratch for this episode called todo.
rails todo
We’ll be using the MongoMapper gem to enable our app to talk to MongoDB. To do this we need to add the following line in the config block of /config/environment.rb.
/config/environment.rb
config.gem "mongo_mapper"
We also need to set up some additional configuration which we’ll do inside an initializer file. In the /config/initializers directory we’ll create a new file that we’ll call mongo_config.rb. In this file we just need to add one line to tell MongoMapper which database to use.
/config/initializers/mongo_config.rb
MongoMapper.database = "todo-#{Rails.env}"
By passing the current environment as part of the database name we’ll create different databases for our development, test and production environments. If we were to move this application into production there’d be more we’d need to do for authentication and so on but for the purposes of this demonstration what we have is fine.
The final step in setting up our application is to run the following command to make sure that the MongoMapper gem is installed.
sudo rake gems:install
Building Our Application
Now we can start building our application. This is a simple todo list app which will have a Project model and where a Project will have many Tasks. To make the writing of the application easier we’ll use Ryan Bates’ Nifty Generators, but note that the application could be written without them.
The first thing we’ll do is create a layout for our application which we can do by running
script/generate nifty_layout
Next we’ll generate the Project model and a scaffold to go with it. Project will have only one field, name, and as we’re not generating a normal model ActiveRecord model with a schema we’ll pass --skip-migration so that no migration file is generated.
script/generate nifty_scaffold project name:string --skip-migration
This will generate a model file, controller and views for us. The generated Project model will be an ActiveRecord one so we’ll have to change it to work with MongoMapper.
/app/models/project.rb
class Project < ActiveRecord::Base
  attr_accessible :name
end
The generated code for the Project model.
All we have to do here is stop our class inheriting from ActiveRecord::Base and include MongoMapper::Document instead.
To define the model’s attributes we use a key method. We pass this the name of the attribute, in this case :name, and also a type which should be a Ruby class. For our :name attribute this will be a String. Our model will now look like this:
/app/models/project.rb
class Project
  include MongoMapper::Document
  key :name, String
end
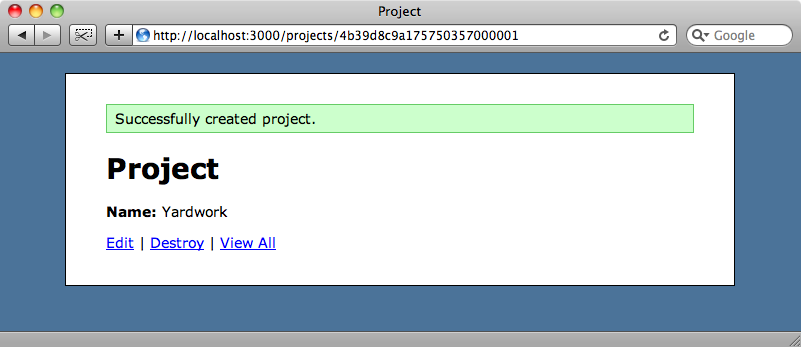
With the changes we’ve made to the model we can now run our application and use it to create, update and list projects as we would with an application based on a relational database and ActiveRecord, only instead it’s using MongoMapper and MongoDB.
In terms of its interface MongoMapper works in a similar way to ActiveRecord. We can perform finds and create, update and destroy records just like we normally would. It even supports validations in the same way as ActiveRecord so we could add
/app/models/project.rb
validates_presence_of :name
to our Project model and we would no longer be able to create a project with a blank name. With MongoMapper there’s a better way to add validations by moving them inline. To make the name attribute required we can add :required => true to the key method’s parameters.
/app/models/project.rb
class Project
  include MongoMapper::Document
  key :name, String, :required => true
end
Adding validation to the Project model.
Adding More Attributes
As MongoDB is a schema-less database we can easily add or alter attributes in a model without needing to run any migrations. If we want to add a priority attribute to our Project we can just add it into the model.
/app/models/project.rb
class Project
  include MongoMapper::Document
  key :name, String, :required => true
  key :priority, Integer
end
We can interact with this new attribute just as we would with an ActiveRecord one. So, in the Project form partial we can add a select menu that will allow us to select a priority when we create or update a project.
/app/views/projects/_form.html.erb
<% form_for @project do |f| %>
  <%= f.error_messages %>
  <p>
    <%= f.label :name %><br />
    <%= f.text_field :name %>
  </p>
  <p>
    <%= f.label :priority %><br />
    <%= f.select :priority, [1,2,3,4,5] %>
  </p>
  <p><%= f.submit "Submit" %></p>
<% end %>
We can then modify the show view so that we can display a project’s priority.
/app/views/projects/show.html.erb
<% title "Project" %>
<p>
  <strong>Name:</strong>
  <%=h @project.name %>
</p>
<p>
  <strong>Priority:</strong>
  <%=h @project.priority %>
</p>
<p>
  <%= link_to "Edit", edit_project_path(@project) %> |
  <%= link_to "Destroy", @project, :confirm => 'Are you sure?', :method => :delete %> |
  <%= link_to "View All", projects_path %>
</p>
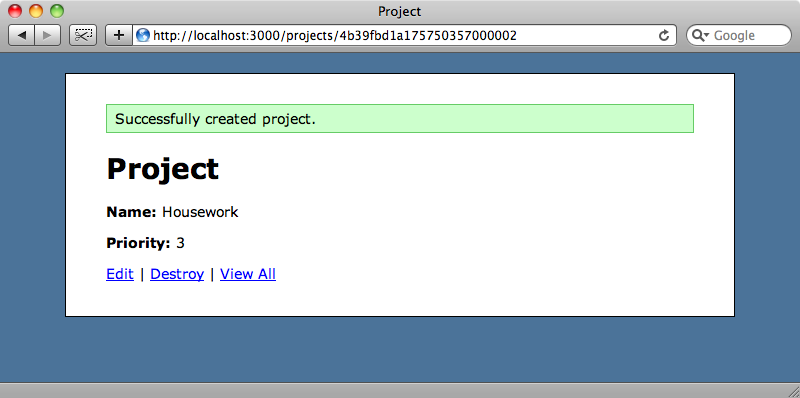
When we visit the New Project page now we’ll see the priority select menu and when we create a new project its priority will be shown.
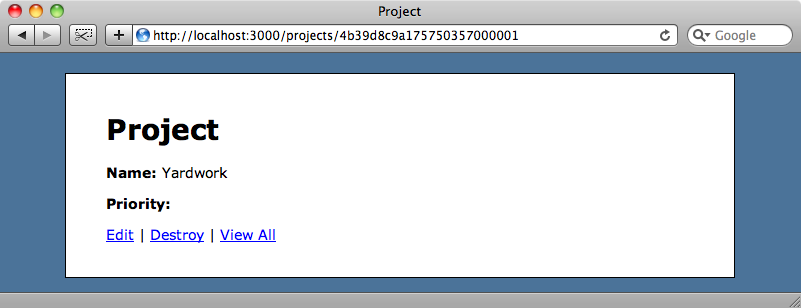
As we created a project before we added the priority attribute you might be wondering what priority it will have assigned to it. If we look at that project we’ll see that the priority is blank. As a priority value doesn’t exist for that for that document in MongoDB it will have a nil value.
Associations
In our Todo application we also want to have a Task model; each Project will have many Tasks. We’ll generate the scaffolding for this as we did before for Project. Note that the project_id is a string where we’d usually use an integer.
script/generate nifty_scaffold task project_id:string name:string completed:boolean --skip-migration
As with the Project model we’ll need to modify the model file to work with MongoMapper, by replacing the ActiveRecord-specific code.
/app/models/Task.rb
class Task
  include MongoMapper::Document
  key :project_id, ObjectId
  key :name, String
  key :completed, Boolean
  belongs_to :project
end
Again we’ve included MongoMapper::Document and used the key method to define the model’s attributes. You might have expected the project_id to have a type of Integer, but MongoDB uses ObjectId to store ids.
We define Task’s relationship with Project as we would with ActiveRecord by using belongs_to. In Project you might expect to use has_many :tasks, but for MongoMapper we instead use many.
/app/models/project.rb
class Project
  include MongoMapper::Document
  key :name, String, :required => true
  key :priority, Integer
  many :tasks
end
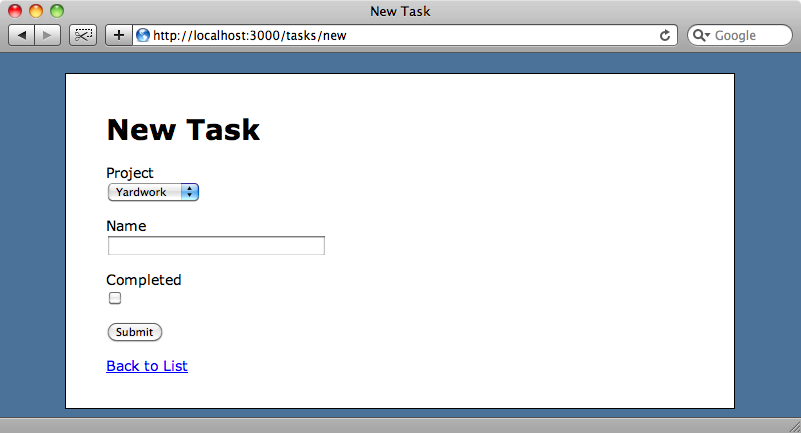
We can now run the application and use the scaffold-generated controller and views to create new tasks. Entering a project’s id on the new task form will be tricky though as the scaffold will have generated a text box for the project_id field. This is because we defined it as a string field when we created the scaffold. We’ll modify the view so that it uses a select menu allowing to choose from any of the existing projects. Just like we would with an ActiveRecord form we can use collection_select to create a select menu that lists all of the projects.
/app/views/tasks/_form.html.erb
<% form_for @task do |f| %>
  <%= f.error_messages %>
  <p>
    <%= f.label :project_id %><br />
    <%= f.collection_select :project_id, Project.all, :id, :name %>
  </p>
  <!-- Rest of form... -->
Now we’ll have an easy way to select a project when we’re creating a new task.
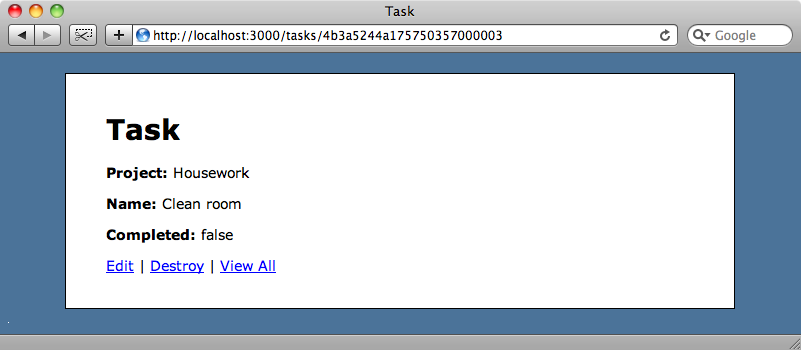
After we’ve created a new task we’ll be taken to that task’s page which will show the project’s id. It would be better if we could show the project’s name instead. We can do this by replacing @task.project_id in the show view with @task.project.name.
/app/views/tasks/show.html.erb
<% title "Task" %>
<p>
  <strong>Project:</strong>
  <%=h @task.project.name %>
</p>
<!-- Rest of form -->
The form will now show the name from the associated project, just as it would with an ActiveRecord-based form.
Finds in MongoDB
We’ll finish off this episode by showing a few techniques for using finding Mongo models in the console. In some ways it behaves very much like ActiveRecord. For example we can find all of the projects with Project.all
>> Project.all
=> [#<Project name: "Yardwork", _id: 4b39d8c9a175750357000001, priority: nil>, #<Project name: "Housework", _id: 4b39fbd1a175750357000002, priority: 3>]
We can also find a project by its id…
>> Project.find('4b39d8c9a175750357000001')
=> #<Project name: "Yardwork", _id: 4b39d8c9a175750357000001, priority: nil>
…or supply options to all to find records in a given order.
>> Project.all(:order => "name DESC")
=> [#<Project name: "Yardwork", _id: 4b39d8c9a175750357000001, priority: nil>, #<Project name: "Housework", _id: 4b39fbd1a175750357000002, priority: 3>]
As with ActiveRecord we can pass conditions to find. This differs from ActiveRecord in that the conditions are passed inline so we would find all of the projects with a priority of 3 with:
>> Project.all(:priority => 3)
=> [#<Project name: "Housework", _id: 4b39fbd1a175750357000002, priority: 3>]
What about more complex conditions? As Mongo isn’t based on SQL we can’t just pass a SQL string into the conditions. Instead it has its own language for creating more complex conditions. MongoMapper provides a convenient way to get around this by passing a method to a symbol. For example to get all of the projects that have a priority of two or greater we can use:
>> Project.all(:priority.gte => 2)
=> [#<Project name: "Housework", _id: 4b39fbd1a175750357000002, priority: 3>]
We can also use in, passing it an array of values to find, say, projects with a priority of 2 or 3.
>> Project.all(:priority.in => [2,3])
=> [#<Project name: "Housework", _id: 4b39fbd1a175750357000002, priority: 3>]
Documentation is a little sparse on the find conditions right now, but you can find out more about them by reading though the appropriate test file on Github.
That’s it for this episode. We’ve only covered the basics of MongoDB and MongoMapper so you’re encouraged to do your own research if you want to take it any further. There is a mailing list you can join and you can follow MongoDB on Twitter.
The big question you need to ask yourself is should you use MongoDB over a traditional relational database? It’s really up to you to decide whether you think MongoDB and MongoMapper are suitable for your Rails projects, but you’re encouraged to give MongoDB a try to see if it’s a good fit for your projects. In the long term it seems that document databases will play a bigger role in building Rails applications.