
184: Formtastic Part 1
(view original Railscast)
Other translations:


If you find writing the view code for forms rather long-winded, you’ll be pleased to know that there’s a gem called Formtastic which provides a more concise way to do it. With it, fairly complex forms can be created with relatively little code as we’ll show you in this episode.
Creating The Vet App
Before we get started with Formtastic it’s worth mentioning a TextMate bundle that’s available. This provides a number of useful snippets that can make creating forms even easier.
To demonstrate Formtastic we’re going to create a new Rails app. This application will keep track of animal patients in a vet’s surgery, so we’ll call it vet and create it in the normal way.
rails vet
Formtastic is supplied as a gem. We can include it in our application by adding the following line to our application’s /config/environment.rb file. (If you’re using TextMate and you’ve installed the Formtastic bundle you can use ftgem and <TAB> as a shortcut).
config.gem 'justinfrench-formtastic', :lib => 'formtastic', :source => 'http://gems.github.com'
To make sure the gem is installed we just need to run
sudo rake gems:install
and then we’re ready to begin writing our application.
Our application will make use of some of Ryan Bates’ nifty generators to make it easier to write parts of the application. The one we’ll use first is the nifty_layout generator which we’ll use to create a layout file and stylesheet.
script/generate nifty_layout
Next we’ll generate our first model, making use of the nifty_scaffold generator to create a controller and views to go with it. We’re going to put our animals into categories so we’ll call our model Category and give it name and description attributes.
script/generate nifty_scaffold category name:string description:text
We can now migrate our database.
rake db:migrate
If we start up our new application and navigate to the new category page we’ll see the scaffold-generated view code.
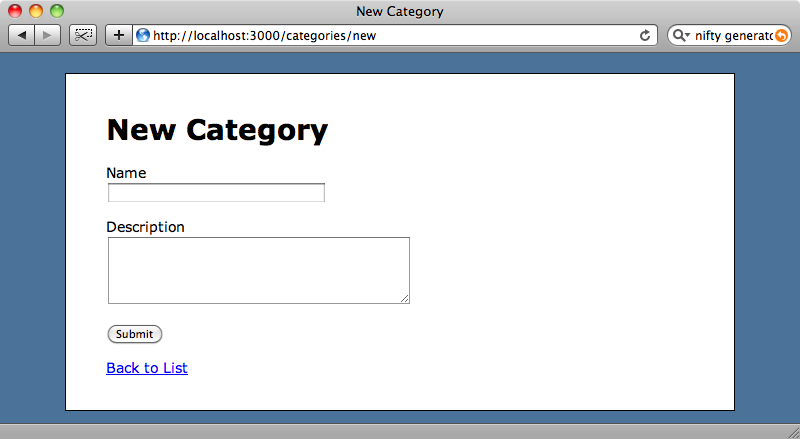
The code generated by the scaffolding for the form above is this:
  <% form_for @category do |f| %>
    <%= f.error_messages %>
    <p>
      <%= f.label :name %><br />
      <%= f.text_field :name %>
    </p>
    <p>
      <%= f.label :description %><br />
      <%= f.text_area :description, :rows => 5 %>
    </p>
    <p><%= f.submit "Submit" %></p>
  <% end %>
This is normal Rails form code, starting with a form_for and with each field in the form defined separately along with its label. Finally there’s a submit button so that we can add a new category.
Formtastic doesn’t override any of these standard form methods so we can still use them in a Formtastic form. If we replaced the form_for in the form above with Formtastic’s semantic_form_for the form would work just the same. There’s not much point in doing that, however; the real advantage comes when we use Formtastic’s form methods. With them we can change our form to look like this:
  <% semantic_form_for @category do |f| %>
   <%= f.inputs %>
   <%= f.buttons %>
  <% end %>
The inputs method is a convenient way to generate all the input fields for a model and, likewise, the buttons method generates a submit button. If we reload the form now it’ll look a little different.
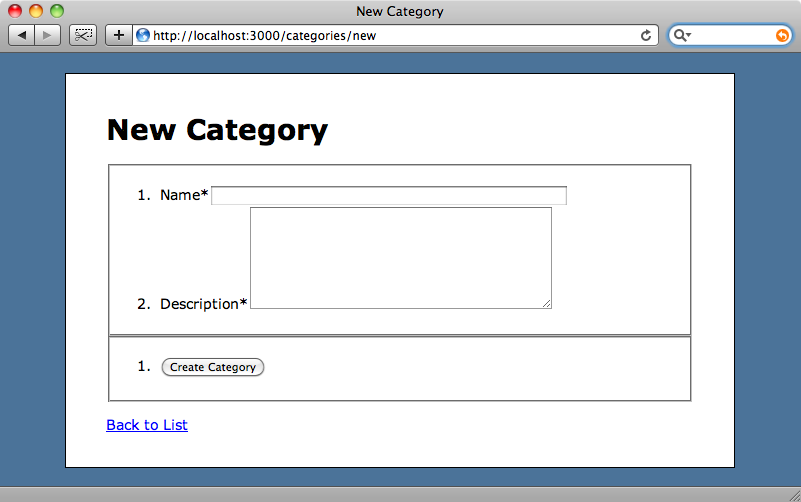
This form is now rendered using Formtastic’s form methods. The most noticeable difference is that whereas the scaffold-generated form used paragraph tags to separate the fields Formtastic uses ordered lists and fieldsets to separate the input fields from the button.
The form doesn’t look particularly pretty as it stands, but we can fix this by applying some CSS. Formtastic comes with some existing stylesheets that we can generate to save us having to do all of the work ourselves. If we run
script/generate formtastic_stylesheets
two new stylesheets will be created in our application’s /public/stylesheets directory and we can then reference these new stylesheets from our layout file. In the head section of our layout we’re referencing one stylesheet already.
  <head>
    <title><%= h(yield(:title) || "Untitled") %></title>
    <%= stylesheet_link_tag 'application' %>
    <%= yield(:head) %>
  </head>
We can add the two Formtastic stylesheets here to include them on every page in our application.
<%= stylesheet_link_tag 'application', 'formtastic', 'formtastic_changes' %>
The second file, formtastic_changes, is where we should make any changes to the default styles provided in the other stylesheet. As we now have multiple stylesheets we should make use of Rails’ caching option so that the files are combined into one when the application is run in production mode. (This applies to multiple JavaScript files as well.)
<%= stylesheet_link_tag 'application', 'formtastic', 'formtastic_changes', :cache => 'base' %>
Using caching like this will mean that fewer files need to be requested from the server when the page loads as the three stylesheet files will be combined into one called base.css.
If we reload the form now it’ll look a little better, but it’s still not quite how it’s supposed to look.
This is due to a couple of lines in Formtastic’s stylesheet.
  html[xmlns] form.formtastic fieldset { display: block; }
  html[xmlns] form.formtastic fieldset ol li { display: block; }
The two CSS selectors above expect the pages’ opening <html> tag to have an xmlns attribute. In the layout file generated by the nifty_layout generator the tag doesn’t have this so we’ll have to add it to get the form to display as it should.
<html xmlns="http://www.w3.org/1999/xhtml" xml:lang="en" lang="en">
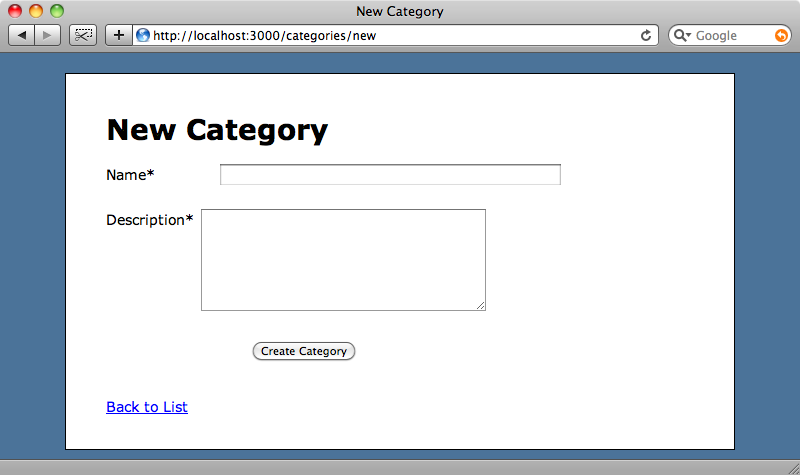
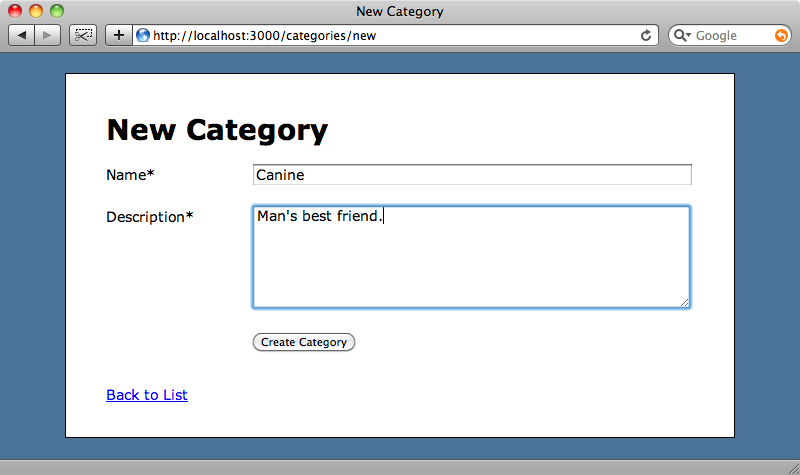
Reload the form now and we’ll see the text fields line up as we’d expect them to. Now that we have the form looking as it should we can add a couple of categories, one for dogs and one for cats. We’ll use these shortly when we create the form for the animals themselves.
A More Complex Example
We’ll move on now to the form for the animals. As we did with the categories we’ll start by generating a scaffold.
script/generate nifty_scaffold animal name:string category_id:integer born_on:date female:boolean
The Animal model will have name, born_on and female attributes along with a category_id so that we can put each animal into a Category. After creating the scaffold we’ll migrate our database again so that the new table is created in the database.
rake db:migrate
The next step is to set up the relationship between the models so that an animal belongs to a category…
  class Animal < ActiveRecord::Base
    attr_accessible :name, :category_id, :born_on, :female
    belongs_to :category
  end
…and a category has many animals.
  class Category < ActiveRecord::Base
    attr_accessible :name, :description
    has_many :animals
  end
The form generated by the scaffolding is shown below. We want to replace this with some Formtastic code so we’ll be changing this soon.
As we did with the category form we’ll be replacing the default form_for code with a Formtastic semantic_form_for form.
  <% semantic_form_for @animal do |f| %>
    <% f.inputs do %>
      <%= f.input :name %>
      <%= f.input :born_on %>
      <%= f.input :category %>
      <%= f.input :female %>
    <% end %>
    <%= f.buttons %>
  <% end %>
We want a little more control over our form fields this time as we’re going to customise them shortly so we’ve passed f.inputs a block, inside of which we’ve used the input method to define each field. After we’ve closed the block we can add our submit button with f.buttons as we did before.
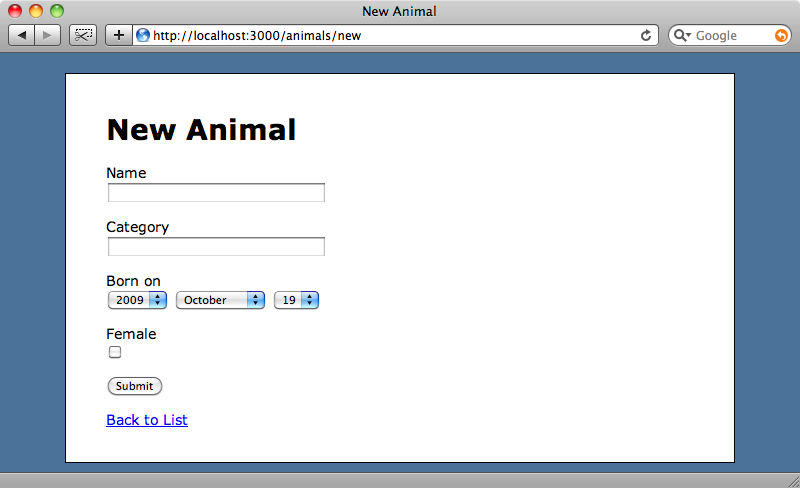
If we reload the form now we’ll see the fields as rendered by Formtastic.
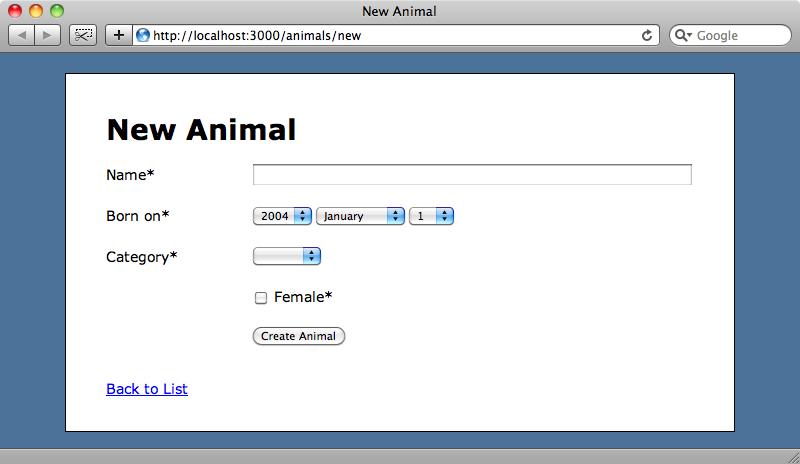
Formtastic has created appropriate form fields according the the Animal model’s attributes’ types. Although you can’t see it here it has even worked out that the category_id field is a association and populated the category dropdown with the two categories we added earlier.
There are a few changes we want to make to this form. By default, the year part of the date field is only populated five years either side of the current year and we need to show dates further back than that. Also, we want to remove the blank option from the category dropdown and show the female field as a pair of radio buttons rather than as a checkbox.
We can customise fields by using the same options that we pass to Rails’ form helper methods. This means that we can pass born_on a :start_year and use an :include_blank => false parameter in our category to remove the blank option.
  <% semantic_form_for @animal do |f| %>
    <% f.inputs do %>
      <%= f.input :name %>
      <%= f.input :born_on, :start_year => 1900 %>
      <%= f.input :category, :include_blank => false %>
      <%= f.input :female, :as => :radio %>
    <% end %>
    <%= f.buttons %>
  <% end %>
We have to treat the female field a little differently as we’re changing the type of form element. To specify a different type of field from the default Formtastic has an :as parameter. We can use :as => :radio to change the type to radio buttons.
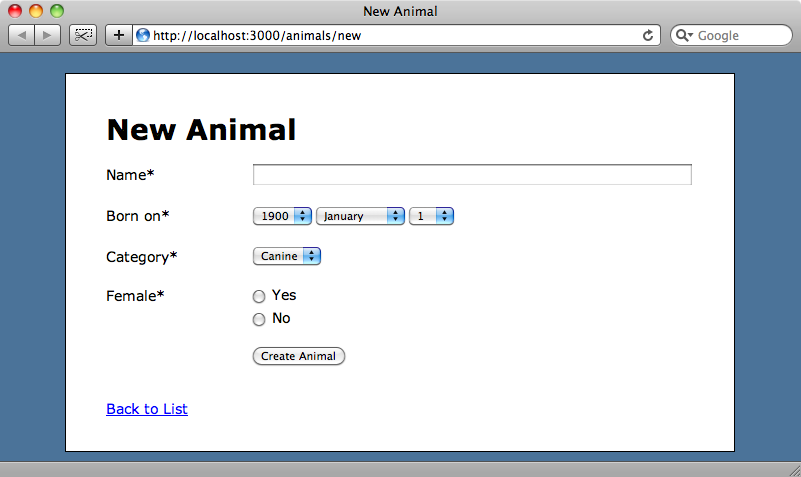
If we take another look at the form now we’ll see the changes we made reflected there, with the dates starting from 1900, the blank option removed from the category and the female checkbox replaced by two radio buttons.
The radio buttons are an improvement on the checkbox, but instead of “yes” and “no” we’d like the field to be labelled “Gender” and the radio buttons labelled “Male” and “Female”. Does Formtastic allow this level allow this level of customisation? It does. We can make use of the :label and :collection options to set the values of the label and the radio buttons.
<%= f.input :female, :as => :radio, :label => "Gender", :collection => [["Male", false], ["Female", true]] %>
As the name implies the :label option sets the name of the label, while the :collection option takes a array of arrays specifying the name and value of each radio button.
The form now looks just how we want it to.
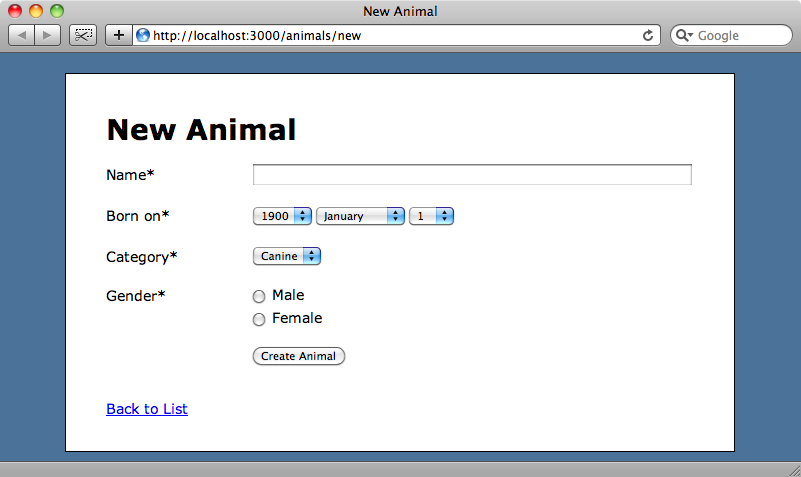
Our form is now complete and we can use it to create as many new animals as we want.
Taking it Further
With Formtastic we have successfully created a fairly complex form with relatively little view code, using its customisation options to alter some of the fields to suit our needs. There’s still quite a bit of Formtastic that we haven’t covered though so we’ll be going into it in more depth in the next episode.