
183: Gemcutter & Jeweler
(view original Railscast)
In episode 135 [read, watch] we showed how to create a Ruby Gem and host it on GitHub. There have been several changes with Ruby Gems since then; one of the most significant being that GitHub no longer supports building gems. Existing gems will continue to be served on GitHub for now, but you’re encouraged to use Gemcutter to host new gems.
Gemcutter is focussed on doing one thing and doing it well: hosting Ruby Gems. It doesn’t try to manage your whole project like RubyForge does, but acts simply as a gem repository.
Getting Set Up
It’s fairly simple to set up Gemcutter. Before we start, however, it’s worth making sure that we’ve upgraded to the latest version of RubyGems, which can be done by running
sudo gem update --system
from the command line. Once RubyGems has updated itself we can then install the Gemcutter gem with
sudo gem install gemcutter
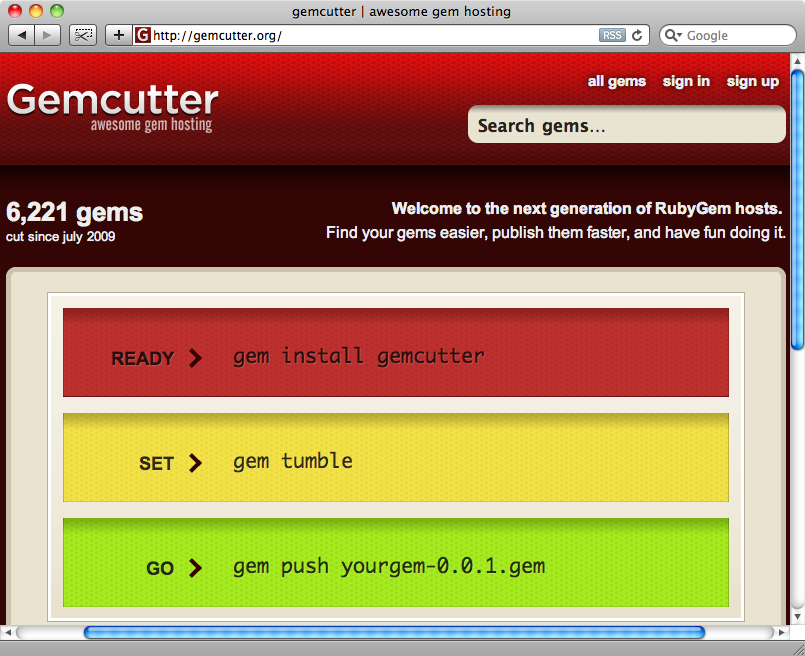
After Gemcutter has installed we’ll need to update our gem sources to include gemcutter.org. To do this we run gem tumble.
$ gem tumble
Thanks for using Gemcutter!
Your gem sources are now:
- http://gemcutter.org
- http://gems.rubyforge.org/
- http://gems.github.com
Now, gemcutter.org will searched as a potential host when we try to install a gem. As Gemcutter increases in popularity more gems will be found only there so this step is well worth doing even if you don’t plan on writing any gems of your own.
Pushing a Gem
The third step on the Gemcutter home page is to add push our gem to their server. This is done by running
gem push yourgem-0.0.1.gem
replacing yourgem-0.0.1 with the name and version number of our gem. But how do we generate the gem file? In episode 135 we created a gemspec file and this file is basically a blueprint for what is included in the gem. The gemspec file was what we passed to GitHub in order to generate a gem there.
The gemspec file can also be used to create a gem on our local machine. All we need to do is run gem build, and pass it the name of the gemspec file. To build the Uniquify gem we wrote in episode 135 we can run gem build uniquify.gemspec to generate a uniquify-0.1.0.gem file.
$ gem build uniquify.gemspec
WARNING:  description and summary are identical
  Successfully built RubyGem
  Name: uniquify
  Version: 0.1.0
  File: uniquify-0.1.0.gem
Once we’ve built our gem file can push it up to Gemcutter to have them host it for us. Before running gem push we’ll need to make sure that we’ve signed up for a Gemcutter account as we’ll be asked for our login credentials the first time we try to push a gem.
$ gem push ac_uniquify-0.1.0.gem
Enter your Gemcutter credentials. Don't have an account yet? Create one at http://gemcutter.org/sign_up
Email:   eifion@asciicasts.com
Password:
Signed in. Your api key has been stored in ~/.gemrc
Pushing gem to Gemcutter...
Successfully registered gem: ac_uniquify (0.1.0)
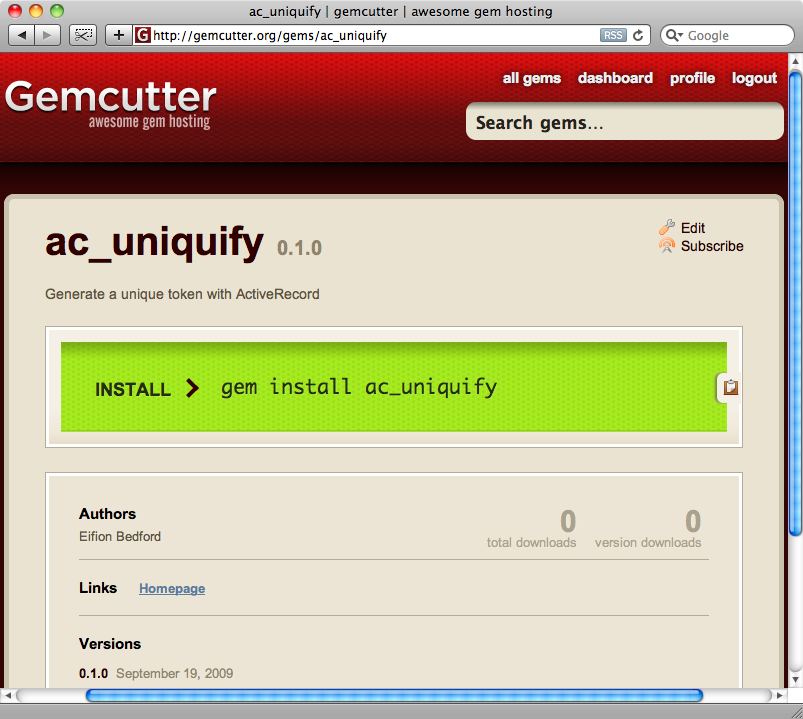
It’s worth noting here that if you created your own version of the Uniquify gem while following episode 135 you won’t be able to push it under the name uniquify as gem names must be unique across Gemcutter. This is why we’ve used the name ac_unquify in the code snippet above.
That’s all we need to do to host our gem. It now has its own page on Gemcutter and can be downloaded and installed like any other gem.
Generating a Gemspec File
This process has been fairly straightforward so far. All we’ve needed to do is build our gem from a gemspec file then push it up to Gemcutter. But how do we create that file? In episode 135 used the echoe gem. Let’s take a look at the gemspec file that echoe created.
Gem::Specification.new do |s|
  s.name = %q{ac_uniquify}
  s.version = "0.1.0"
  s.required_rubygems_version = Gem::Requirement.new(">= 1.2") if s.respond_to? :required_rubygems_version=
  s.authors = ["Eifion Bedford"]
  s.date = %q{2009-09-20}
  s.description = %q{Generate a unique token with ActiveRecord}
  s.email = %q{eifion@asciicasts.com}
  s.extra_rdoc_files = ["README.rdoc", "lib/uniquify.rb"]
  s.files = ["Manifest", "README.rdoc", "Rakefile", "lib/uniquify.rb", "uniquify.gemspec"]
  s.has_rdoc = true
  s.homepage = %q{}
  s.rdoc_options = ["--line-numbers", "--inline-source", "--title", "Uniquify", "--main", "README.rdoc"]
  s.require_paths = ["lib"]
  s.rubyforge_project = %q{uniquify}
  s.rubygems_version = %q{1.3.4}
  s.summary = %q{Generate a unique token with ActiveRecord}
  if s.respond_to? :specification_version then
    current_version = Gem::Specification::CURRENT_SPECIFICATION_VERSION
    s.specification_version = 3
    if Gem::Version.new(Gem::RubyGemsVersion) >= Gem::Version.new('1.2.0') then
    else
    end
  else
  end
end
Our gemspec is just Ruby code and at less than 30 lines long it’s fairly simple. All it does is create a new Gem::Specification and set some attributes on it. We could edit this file manually, updating it whenever we need to build a new version of our gem. It’s not necessary to use an external tool such as echoe when building a Ruby Gem.
To get a better understanding of how to configure a gemspec file check out the Gemspec Reference. This is a great source of documentation for the various attributes that can be passed to a gemspec. If you are looking for a tool to help manage the release of your gems, however, take a look at Jeweler. Jeweler currently relies heavily on Git and GitHub and requires that your project is hosted on GitHub. Since GitHub is no longer hosting gems there will likely be changes to Jeweler soon, especially as Gemcutter is now around and increasing in popularity.
Jeweler is supplied as a gem and is installed like any other.
sudo gem install jeweler
To use it we need to modify our gem’s Rakefile by customizing the example code from the project’s homepage to look something like this.
require 'rubygems'
require 'rake'
begin
  require 'jeweler'
  Jeweler::Tasks.new do |gemspec|
    gemspec.name = "ac_uniquify"
    gemspec.summary = "Generate a unique token with Active Record"
    gemspec.description = "Generate a unique token with Active Record"
    gemspec.email = "eifion@asciicasts.com"
    gemspec.homepage = ""
    gemspec.description = "TODO"
    gemspec.authors = ["Eifion Bedford"]
  end
rescue LoadError
  puts "Jeweler not available. Install it with: sudo gem install technicalpickles-jeweler -s http://gems.github.com"
end
Dir["#{File.dirname(__FILE__)}/tasks/*.rake"].sort.each { |ext| load ext }
To configure our gemspec we create a instance of Jeweler::Tasks, passing in a gemspec object and setting attributes on it. The variable we pass to the block is a Gem::Specification object, the same as the one that is created in the gemspec file, so the attributes we pass are the same as the ones used in the generated gemspec file. This makes the Gemspec Reference we mentioned before even more useful.
Jeweler adds a couple of enhancements to the gemspec specifications. These are detailed on the project’s wiki pages.
Adding Gemcutter Support to Jeweler
We’re not quite done yet as we need to add Gemcutter support to Jeweler. All we need to do to enable this is to add
Jeweler::GemcutterTasks.new
to our Rakefile.
begin
  require 'jeweler'
  Jeweler::Tasks.new do |gemspec|
    # Attributes omitted.
  end
  Jeweler::GemcutterTasks.new
rescue LoadError
  puts "Jeweler not available. Install it with: sudo gem install technicalpickles-jeweler -s http://gems.github.com"
end
Now that we have Jeweler installed and configured what does it give us? If we look at our rake task list we’ll see that it has generated a number of new tasks.
rake --tasks
(in /Users/eifion/rails/uniquify)
rake build                           # Build gem
rake check_dependencies              # Check that runtime and development d...
rake check_dependencies:development  # Check that development dependencies ...
rake check_dependencies:runtime      # Check that runtime dependencies are ...
rake gemcutter:release               # Release gem to Gemcutter
rake gemspec                         # Generate and validates gemspec
rake gemspec:generate                # Generates the gemspec, using version...
rake gemspec:validate                # Validates the gemspec
rake install                         # Install gem using sudo
rake release                         # Release the current version.
rake version                         # Displays the current version
rake version:bump:major              # Bump the gemspec by a major version.
rake version:bump:minor              # Bump the gemspec by a minor version.
rake version:bump:patch              # Bump the gemspec by a patch version.
rake version:write                   # Writes out an explicit version.
There are tasks for bumping the version number of our gem and also tasks for releasing it. For our first release to Gemcutter we’ll use rake gemcutter:release; after that we can use rake release.
We don’t have a version file for our gem yet so we’ll use rake version:write to create one.
$ rake version:write
(in /Users/eifion/rails/uniquify)
Updated version: 0.0.0
This rake task creates a file called VERSION that holds the gem’s current version (0.0.0 by default). We can then use rake version:bump:minor to update the version number.
$ rake version:bump:minor
(in /Users/eifion/rails/uniquify)
Current version: 0.0.0
Updated version: 0.1.0
When we’re ready to release our gem to Gemcutter for the first time we can use rake gemcutter:release.
$ rake gemcutter:release
(in /Users/eifion/rails/uniquify)
Generated: ac_uniquify.gemspec
ac_uniquify.gemspec is valid.
WARNING:  no rubyforge_project specified
WARNING:  description and summary are identical
  Successfully built RubyGem
  Name: ac_uniquify
  Version: 0.1.0
  File: ac_uniquify-0.1.0.gem
Executing "gem push ./pkg/ac_uniquify-0.1.0.gem":
gem push ./pkg/ac_uniquify-0.1.0.gem
Pushing gem to Gemcutter...
Successfully registered gem: ac_uniquify (0.1.0)
This command creates the gemspec file, builds the gem and pushes it up to Gemcutter, saving us a lot of work with just a couple of simple rake tasks.
Jeweler also provides a handy way to generate new Ruby Gem projects from scratch. We won’t go into detail about this in this episode but it’s worth reading the relevant section of the Jeweler README on GitHub to see how this is done.
Gemcutter provides an excellent gem hosting solution and it’s hoped that the community will get behind it to make it the default place to host gems. It’s an open source project so you might consider contributing to it, too.