
141: PayPal Basics
(view original Railscast)
This is the first in a series of six episodes about handling credit card transactions and purchases in a Rails application. We’ll be concentrating mainly on PayPal, especially in the early episodes, as it provides a simple way of adding payments to your site. The application we’ll be working with is a basic e-commerce site that shows a list of products that you can add to a cart.
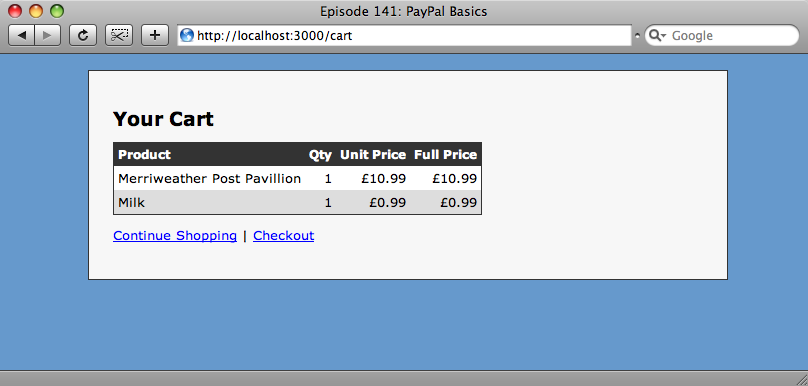
The cart page on our site.
Setting Up a Test PayPal Account
The ’checkout’ link on our site currently does nothing. What we want it do is have it send the contents of the cart to PayPal and have PayPal handle the credit card processing for us.Firstly we’re going to have to set up a test account on PayPal’s developer site. This will allow us to test our site without having to worry about any real money or credit card payments taking place.
We didn’t have a PayPal sandbox account, but signing up for one is a straightforward process. Once signed up and logged in the first thing we want to do it create a seller account. There is a link from the home page titled “Create a preconfigured buyer or seller account” and clicking it takes us to the page where we can create our seller.
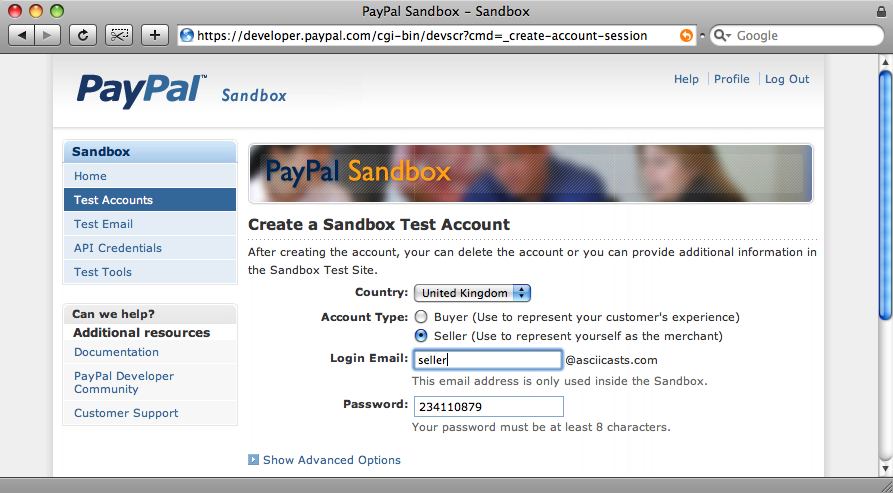
Setting up our seller account.
Once we’ve created our seller we’ll make a note of the password supplied as we’ll need it to log in later. With it we can enter the enter the sandbox test site and log in as our seller. Once logged in we want to click on the “Merchant Services’ tab, but it’s here where things can get a little confusing. PayPal offers a variety of services and it can be difficult to know which one to choose. As ours is a simple site we’re going to use the Website Payments Standard option.
There are several ways to use Website Payments Standard; the one we’ll use is called “Custom Integration”. On the Website Payments Standard page there is a link for creating a Custom Integration. Once there click the "developer page" link and on the page you’re redirected to there should be a link called "Standard Variable Reference". The page that this link points to shows a list of all of the variables that can be passed to PayPal when they process an order from our site. We’ll want to pay particular attention to the table headed "Variables for Individual Items in Third Party Shopping Carts" as this shows us the variables we’ll need to process orders from our cart, which is considered a third part cart by PayPal.
Adding PayPal To Our Site
To make our cart work with PayPal we’ll have to alter the “checkout” link on the cart page so that it goes to PayPal and passes all of the necessary variables in the query string. The logical place to create this link is in the cart model as that’s where the data about the order is stored so we’ll change the link to look like this.
<%= link_to "Checkout", @cart.paypal_url(products_url) %>
When our customer has finished paying for their order on PayPal they’ll be redirected back to our site. We’re passing the products index page url as an argument to the cart’s paypal_url method so the customer will be redirected back to there after they have paid.
The method in the Cart model to generate the URL for PayPal is quite long, but not too complicated.
def paypal_url(return_url)
    values = {
      :business => ’seller_1234111143_biz@asciicasts.com’,
      :cmd => ’_cart’,
      :upload => 1,
      :return => return_url,
      :invoice => id
    }
    line_items.each_with_index do |item, index|
      values.merge!({
        "amount_#{index + 1}" => item.unit_price,
        "item_name_#{index + 1}" => item.product.name,
        "item_number_#{index + 1}" => item.product.identifier,
        "quantity_#{index + 1}" => item.quantity
      })
    end
    "https://www.sandbox.paypal.com/cgi-bin/webscr?" + values.to_query
  end
The method that generates the URL for PayPal.
In the first part of the paypal_url method we create a hash of the values that tell PayPal who we are, what command to execute and what URL to return to when the customer has made their payment. In the second part we loop through each line item and create a number of variables that give the information about each item. Finally we turn the hash into a querystring and append it to the URL of the page on PayPal’s sandbox that will process our order. These URLs can become fairy long quite easily so we could consider using a form that stores all of the values in hidden fields and a button to POST the values instead.
To test this functionality we’ll first need to create another test PayPal account for our buyer. We do this in the same way we created our seller account above. Make sure you click “show advanced options” so that you can give your imaginary customer some money to spend.
Back in our application we’ll buy a couple of items and then click the “checkout” link. If all is well we’ll be redirected to the PayPal site where we can log in as our imaginary customer.

After we’ve paid we’re redirected to a summary page with a link on it back to our site. When we click that we’re taken back to our product page. If we add another item to our cart now we’ll see that the cart still contains the items that have just been bought. We need a way for PayPal to tell us that the order has been successful so that we can clear the cart. That in itself is quite a large topic and there’ll be more about it in the next episode.